
How to Create Load balancing in AZURE Cloud.
Why Load Balancing Required.
Load balancing is required to distribute workloads across multiple servers in order to improve performance, availability, and reliability. Without load balancing, a single server could become overloaded and unable to handle the demand, which could lead to downtime or poor performance.
Types:
· Internal
· Public
Here are some of the benefits of load balancing:
· Improved performance
· Increased availability
· Enhanced reliability
Steps to create Load Balancer.
Login to Azure Cloud Portal
portal.azure.com
· For example, only Creating 2 Virtual Machine in Azure Cloud
Note both Virtual Machine Network Interface will be same range series.
Creating Virtual Machine
Click to create new vm

NEED to create
Resource Group
Virtual Machines
Select Operating System (Selected UBUNTU)
Virtual Network
Public IP
Allow Port (I am selecting http 80 Port)

VM Username and password

Creating Network Interface

Now review and create

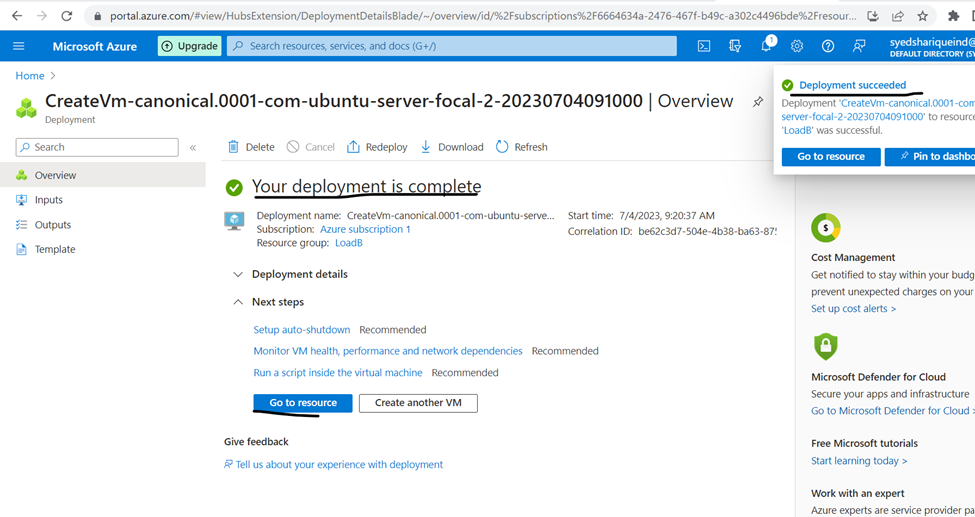
So, virtual machine created successfully
VM private IP and Public IP
Create one more VM in same series of IP Address 10.0.0.0

Having these 2 Virtual Machines

Now here Creating Load Balancer
Click to create Load Balancer

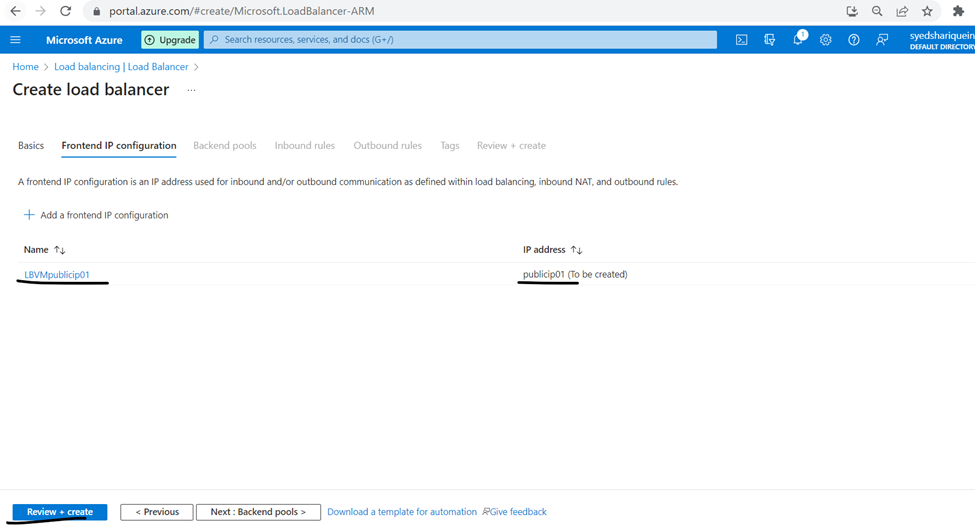
CREATING Public Load Balancer

Now need to add frontend IP
Just assign name and public ip address name
and click to create

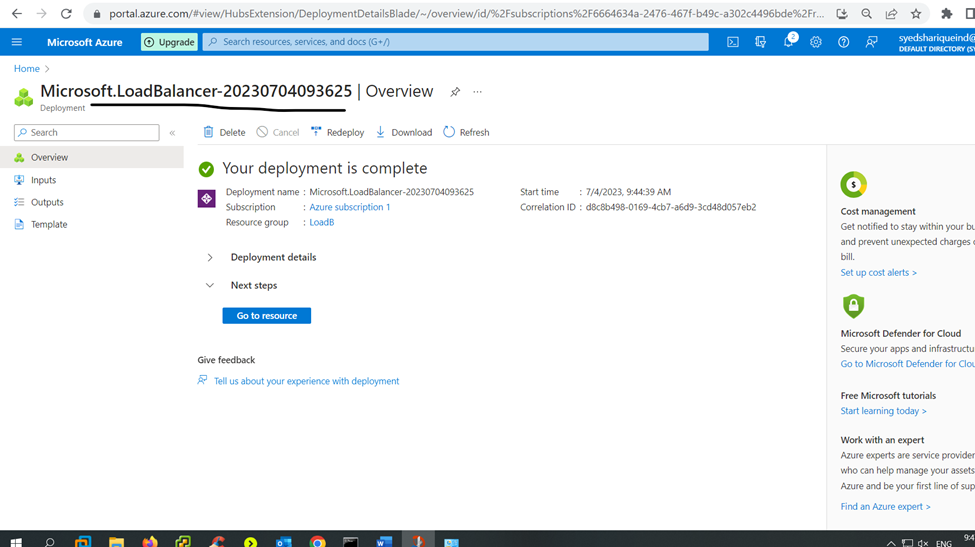
Now review and create
So created Load balancer
Now I am installing web server in virtual machine
Open ssh windows and connect to vm1 and vm2
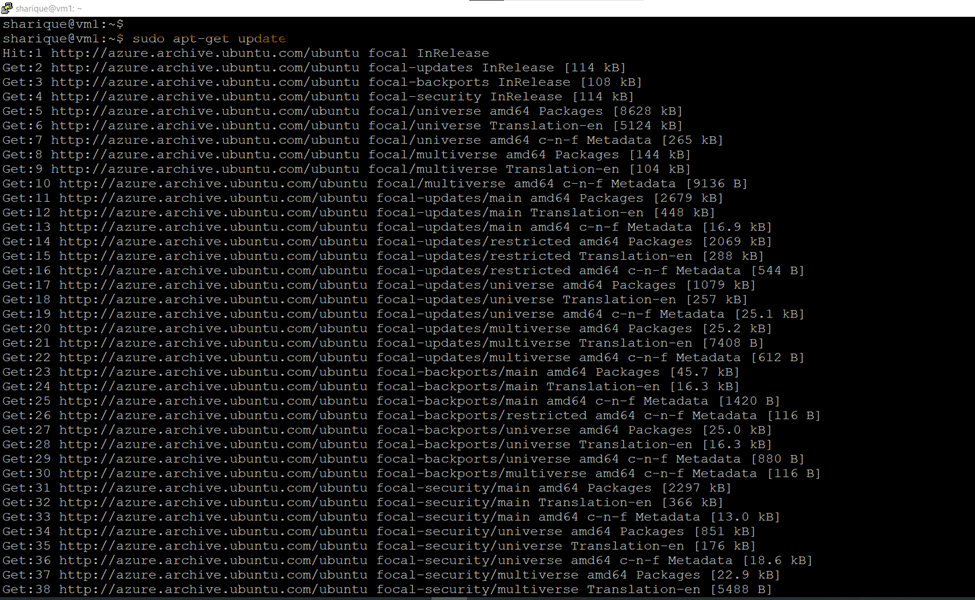
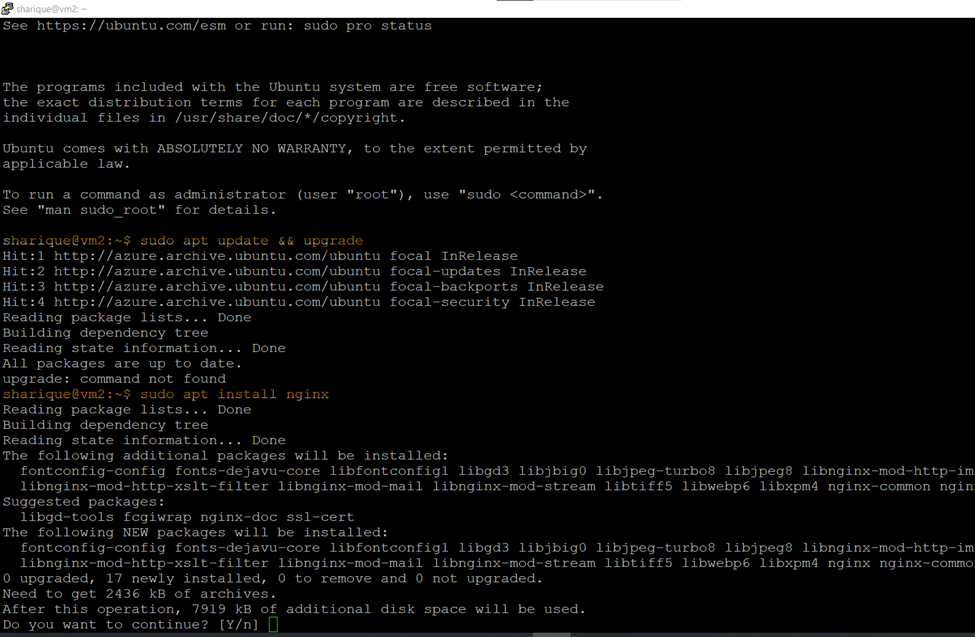
Logged and updating and upgrading
sharique@vm1:~$ sudo apt-get update && upgrade
now installing web server
Nginx is a web server that can also be used as a reverse proxy, load balancer, mail proxy and HTTP cache.
sharique@vm1:~$ sudo apt-get install nginx

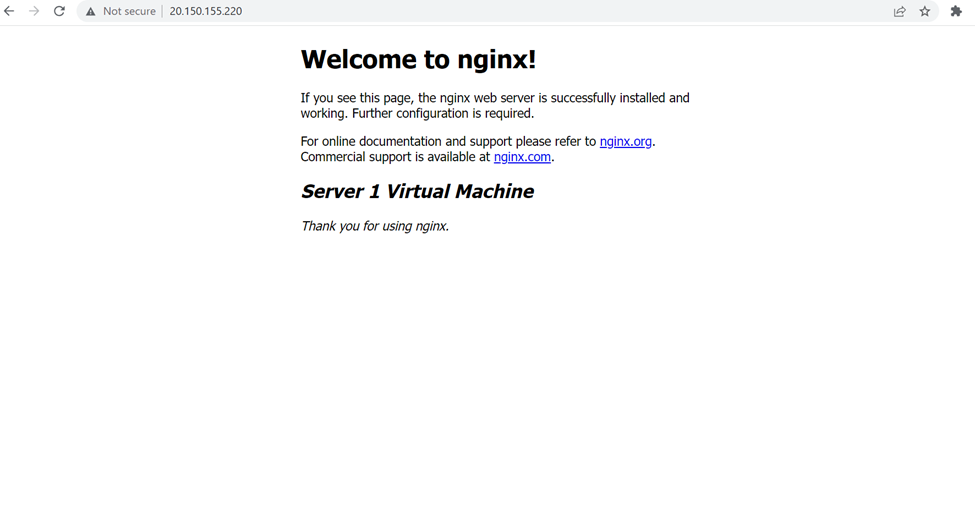
Go to webserver directory and edit index page for easy to understand
sharique@vm1:/var/www/html$ sudo vi index.nginx-debian.html

So, web server is running

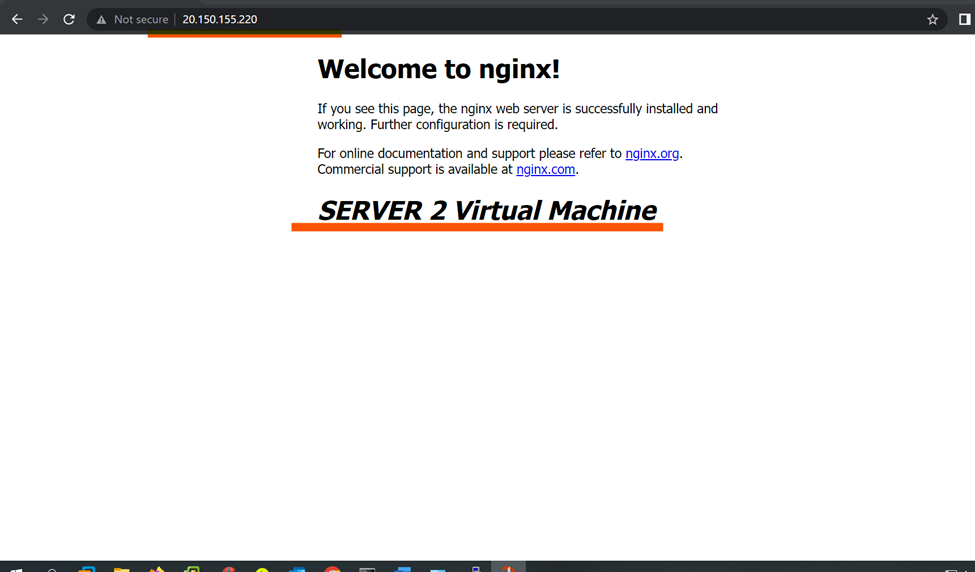
Follow same steps and upgrade and install web server in Virtual Machine 2 (vm2)
Load Balancer Web interface status automatic changing server

NOW here we will start The Load Balancer process.
Go to created load balancer
Check the fronted ip of Load balancer

Now create the backend pool
Click to add backend pool

Assign the name to backend pool
Here ether you can select NIC or IP Address

Select the vm and click to add

Now click to save

So backend pool created

Now need to create Health probes (it’s use to update vm status running or no)
Click to add health probes

Assign new name to health probes/ protocol port and click to save

Now here creating Load Balancing rule
(here I used to assign the load balancer tasks Load balancer will start there process)
Click to add rules
Already created fronted address backend pool and health probe just select the same and click to save

Here load balancer rule created

Now check the status of created load balancer
It’s load balancer Public IP

http://20.150.155.220/ — load balancer ip — so server is running with the help of Load balancer
ideal timeout 4 Minutes : in every 4 minutes it will automatic switch between servers.
Same address virtual machine server 2
These are the steps to process Load balancer