On-Premises sys Azure
synchronize on premises ad with azure ad
Click on Azure Active Directory

Click on all users and create new user

Create new user

Basic user details

USER PROPERTIES DETAILS

IN ASSIGNEMENTS tab
Click on Add role
Need to select Global Admin

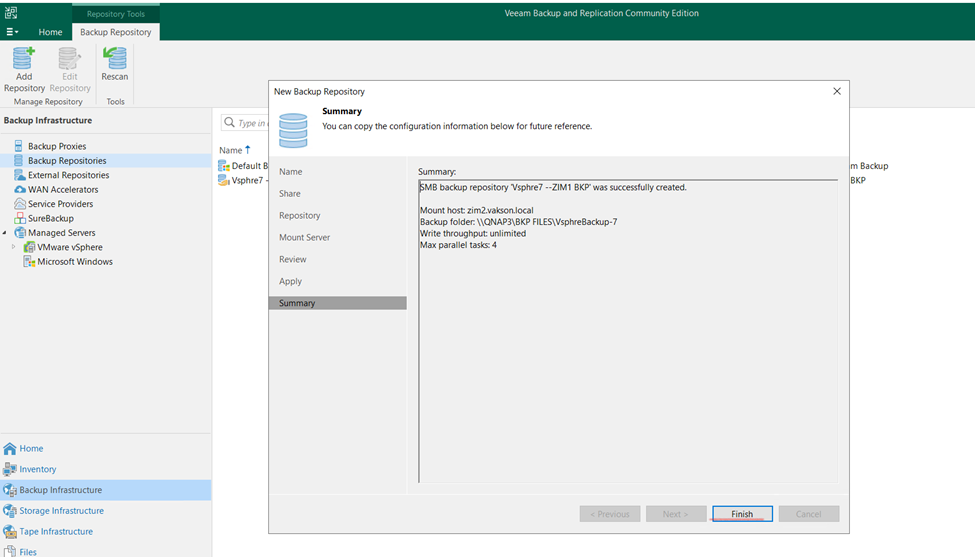
Click to create Global Admin user for syns on Premises Ad to Azure Claud

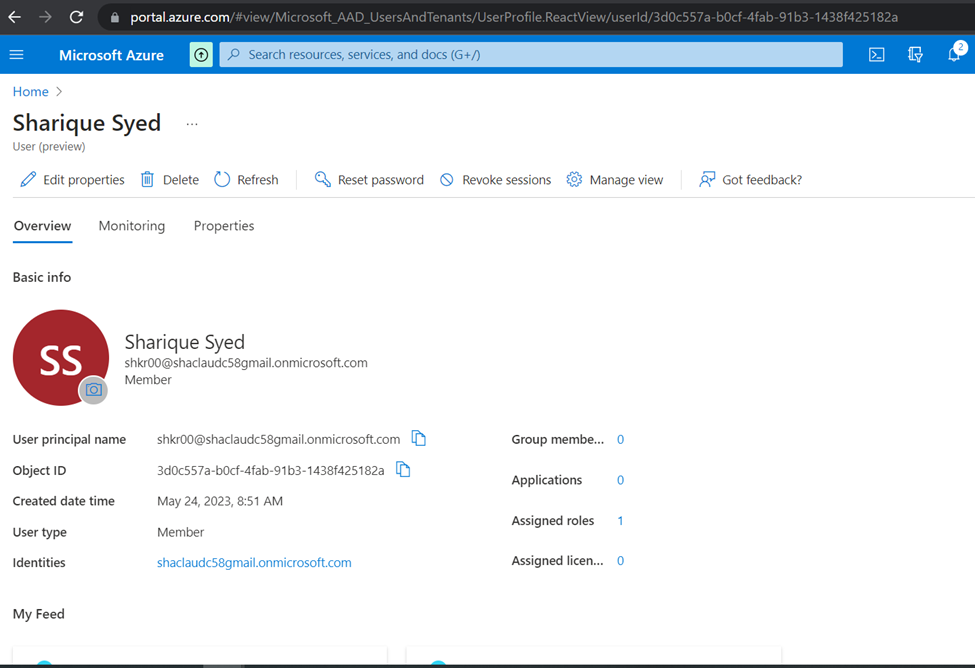
Once user Global Admin User created need to verify it
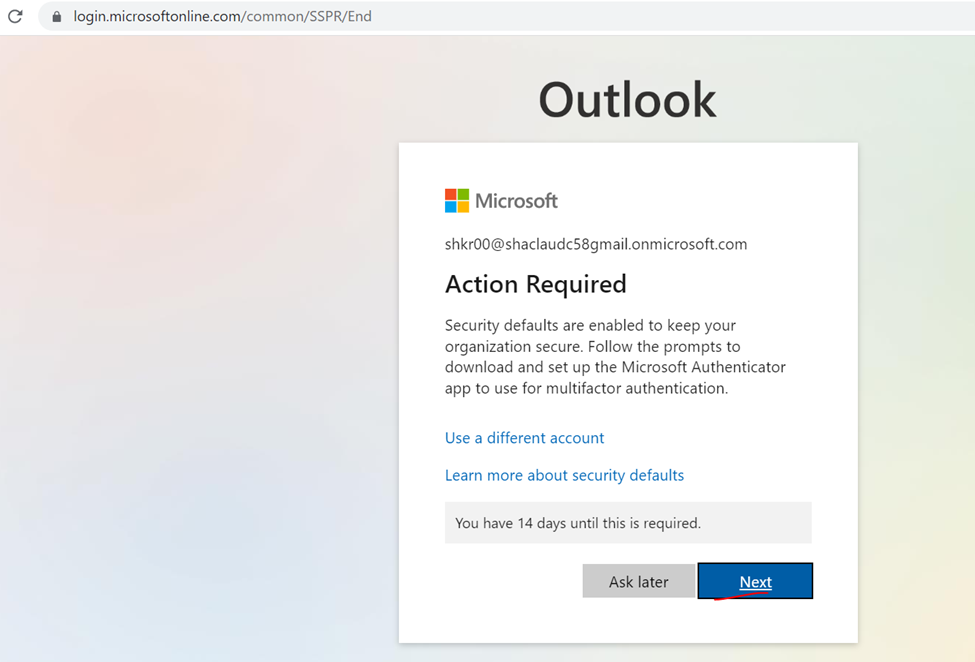
Once user created while login to first time need to reset the default password and authenticate with your phone application

Click to next
Click next

Click next
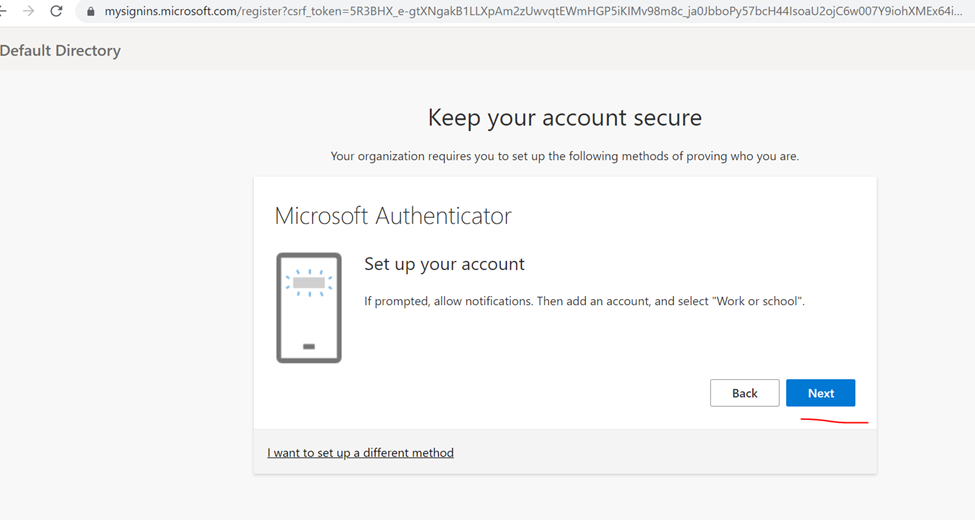
Scan phone app authenticator

Authentication done

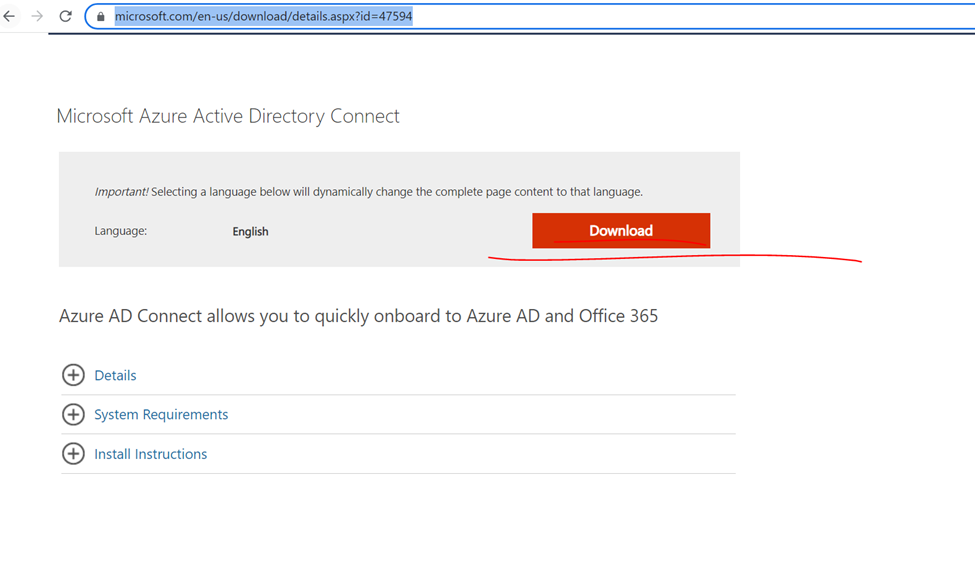
Now need to Install Azure AD Connect to on-premises Domain

Once download done click to install AD Connect
Link : https://www.microsoft.com/en-us/download/details.aspx?id=47594
Now installing AD Connect
Click to continue

Can use customize and express but here implementing…. Custom

Click to install

If you get error click to specify custom location

Click to next

Azure global admin user

Authenticate it

Click on add directory

Type domain admin username and password
Click and next

Click too next

Synchronization all AD and ou

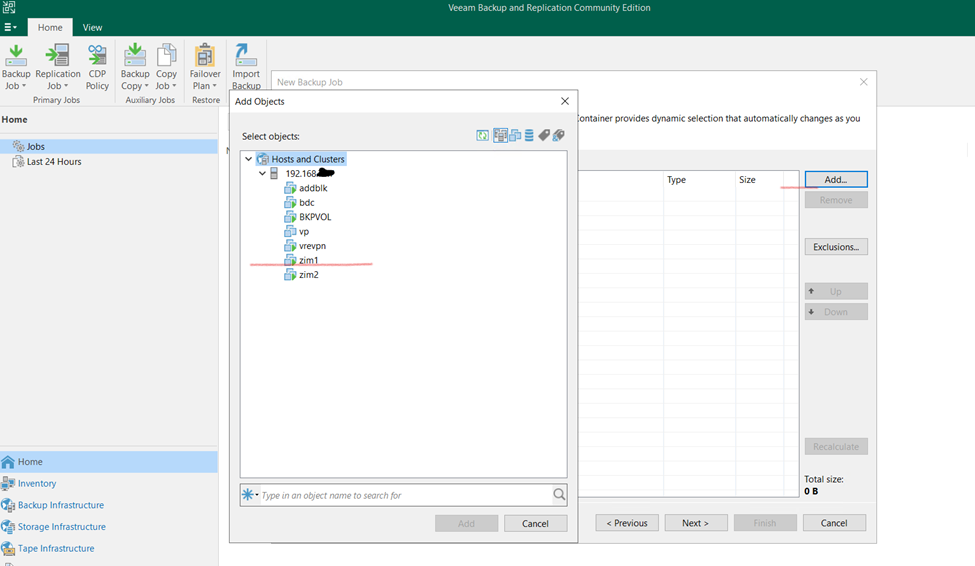
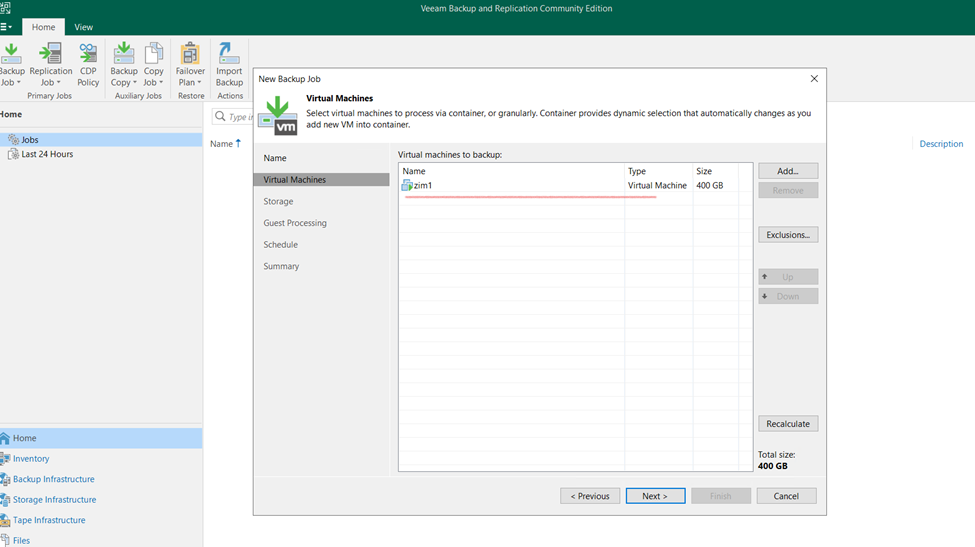
Identify user and Click to next

Filtering all users
And click to next

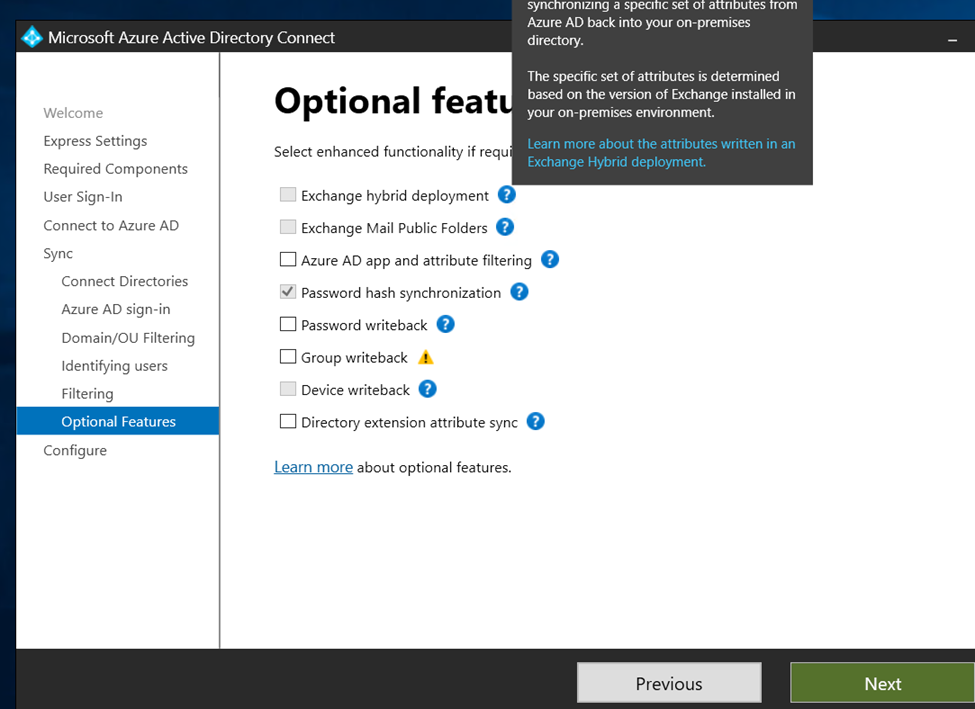
Optional features
Configure
And click to install

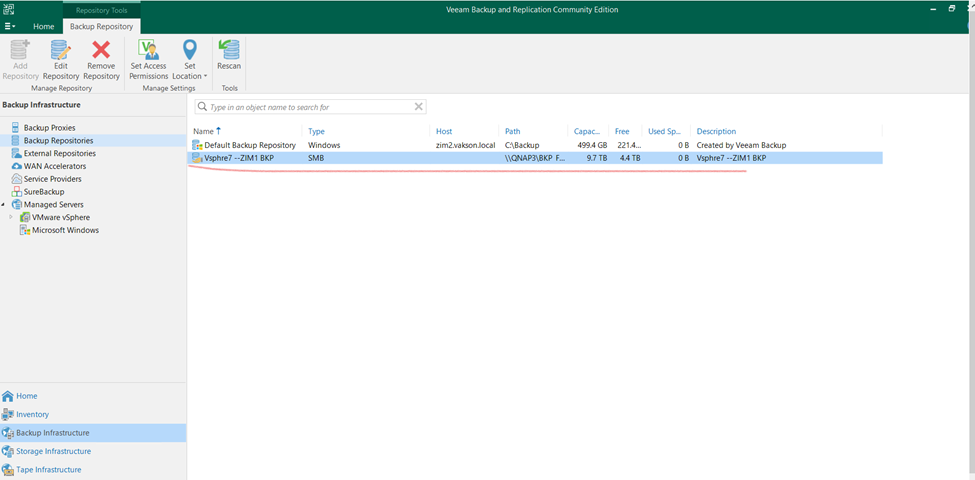
So, configuration completed

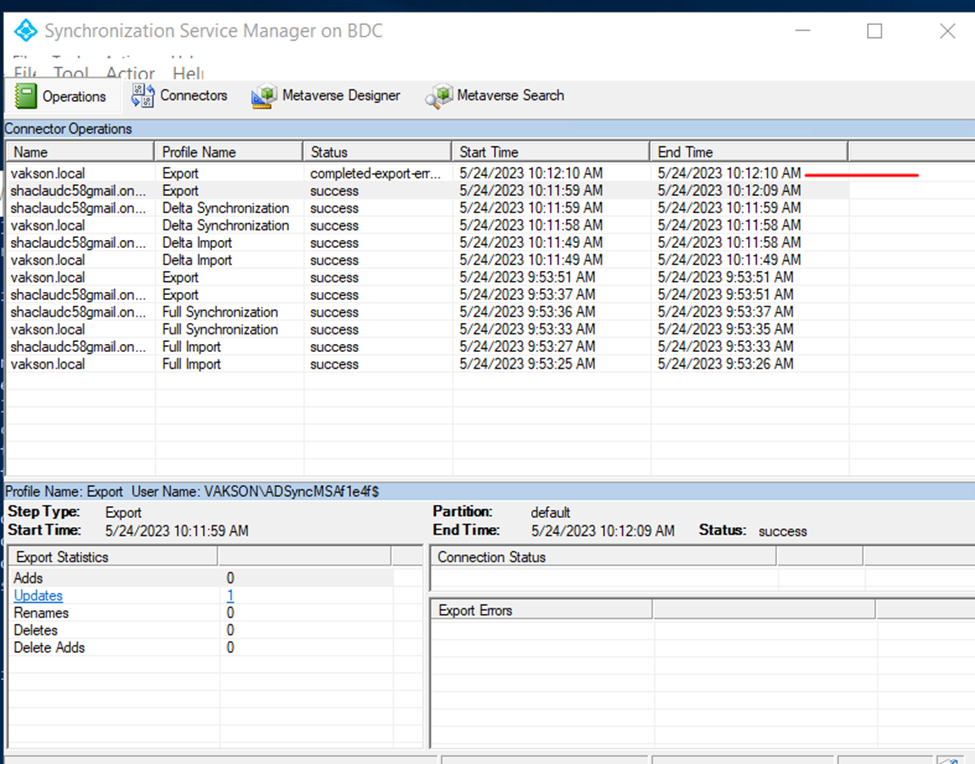
Open synchronization service manager check the status

Check the adds
Status user synchronization with azure directory

Status

Check on azure portal user synchronization status
Overview

Click on azure active directory click all user

Audit logs

Sign and logs

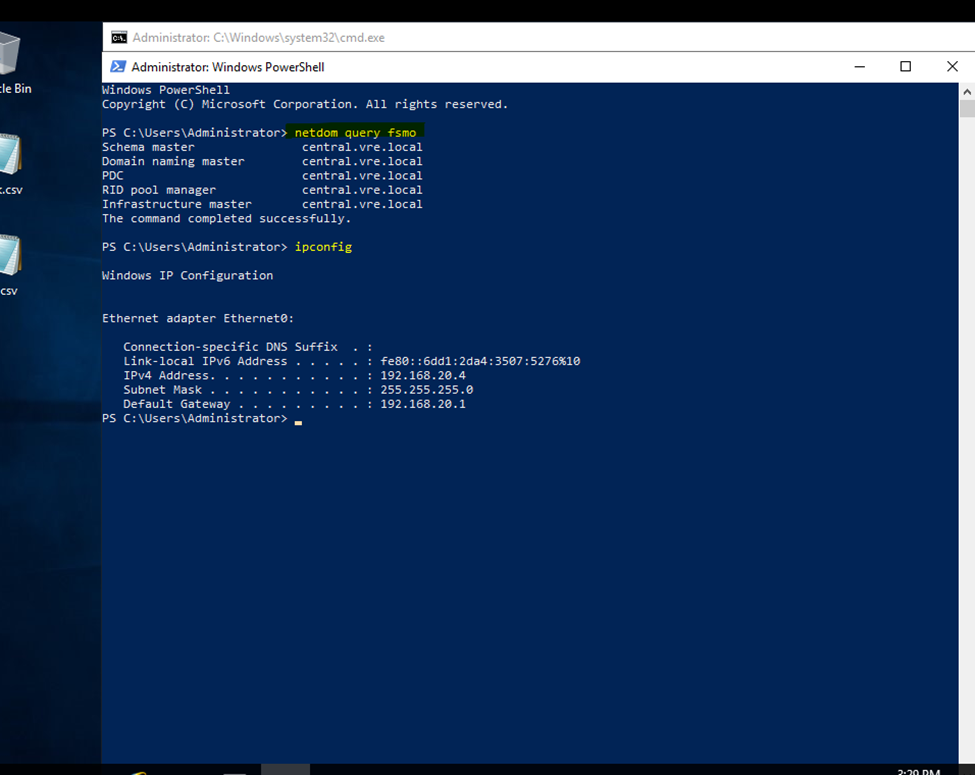
Get-ADSyncScheduler
In every 30 Minutes it’s sync

Forcing a Delta sync on Azure AD
As illustrated above, a delta sync synchronizes all the changes made since the last sync. Forcing a delta sync is crucial, for example, when you have made key changes to users in your Active Directory, and you’d like the changes to reflect immediately. Carrying out a delta sync, for example, speeds up the sync of a new user to Microsoft 365, enabling the assignment of licenses immediately.
Start-ADSyncSyncCycle-PolicyType Delta

Force to sync status
Forcing a Full Azure AD sync
You rarely need to do a full Azure Active Directory sync as and Azure AD administrator. A full Azure AD sync takes a lot of time to sync as it goes through all the Active Directory objects and synchronizes them again. The only use case that you need to do a full synchronization is when you change the Azure AD Connect configuration.
However, in case you’d like to run a full Azure AD sync, then use this policy type initial PowerShell command:

Verify Custom Domain to Azure Cloud
Verify Your Custom Domain in Azure Active Directory
Add your custom domain to Azure AD
- Go to Azure portal then Sign in to the Azure portal.
- Then Select Azure Active Directory
- Select “Custom Domain Name” from Azure Active Directory,
- And then Click “Add custom domain“.
· Custom domain name field, enter your registered domain name.

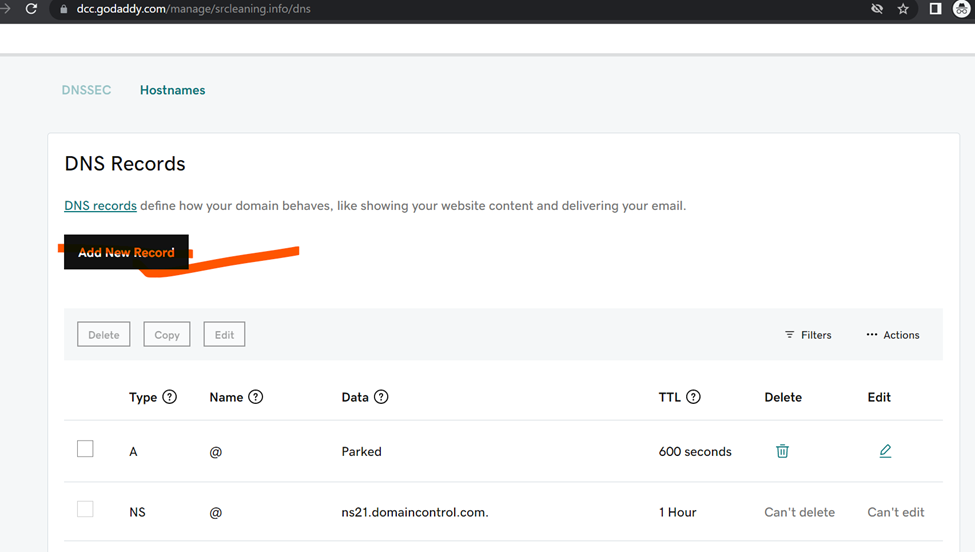
The unverified domain is added. domain page appears showing your DNS information. You need it later to create a TXT record to configure DNS.

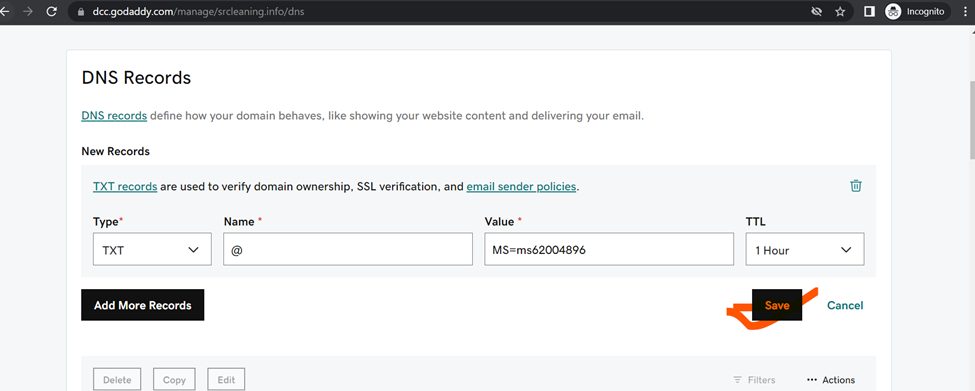
Log in to your GoDaddy account
and add field add new record in TXT format mention below

Configure DNS with a TXT Record
Then click Add to add a TXT record then add Record

Now click to verify

Custom Domain Name is successfully verified

Custom Domain Name is successfully verified

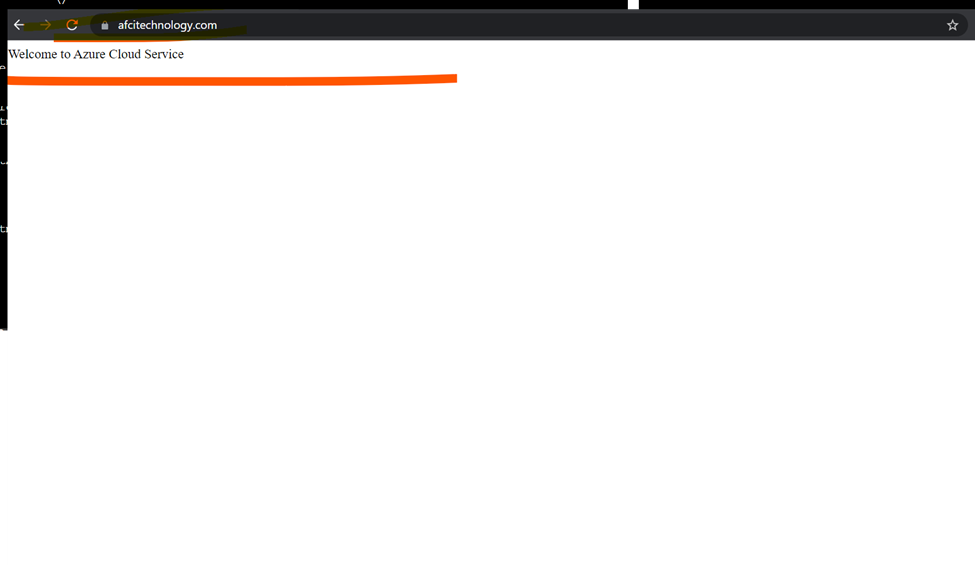
HOW to Host web application in Azure CLOUD

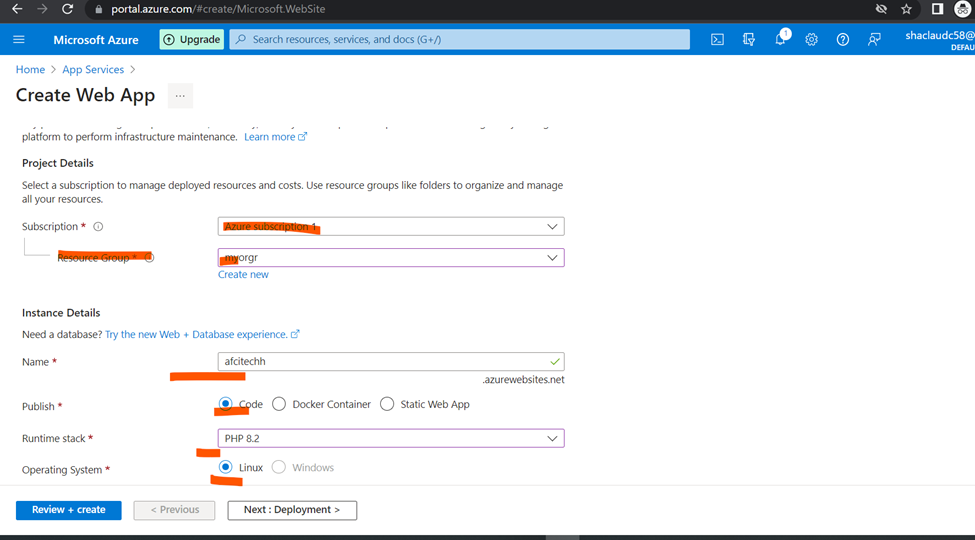
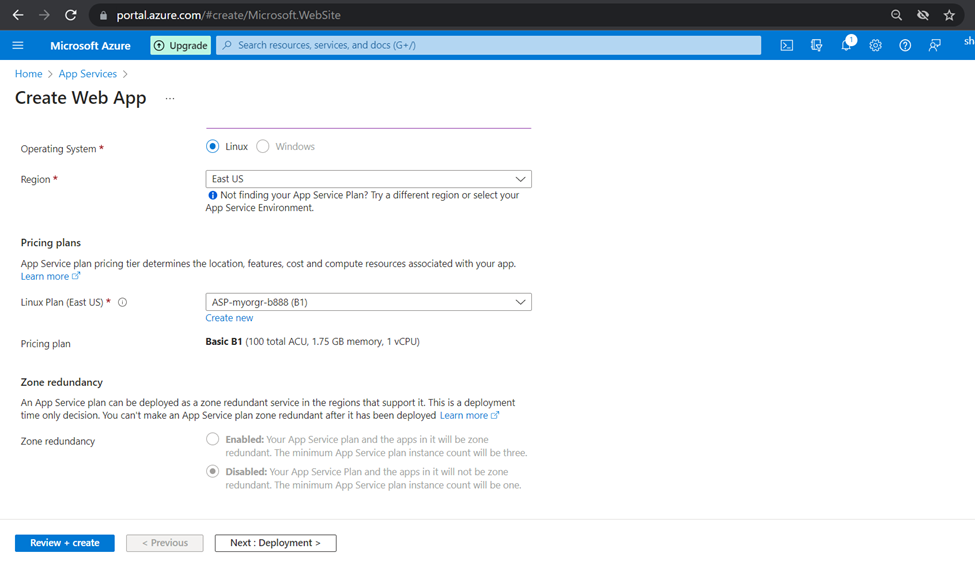
CREATE NEW app services
Assign new application name and select the plan click to next


Adding Custom domains

Note:
Need to add CNAME and TXT record to hosting provider
So I am using godaddy domain services

Login to domain provider
Add the details
Cname

Updated records
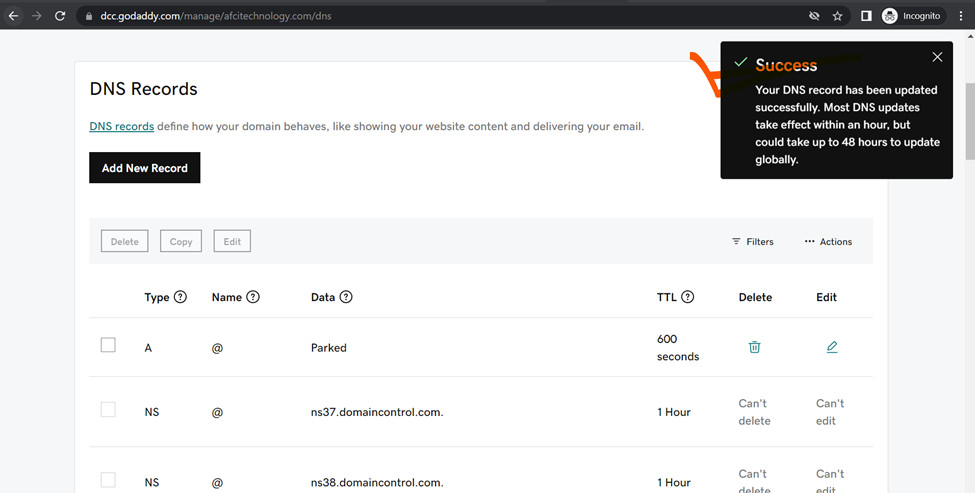
Now need to validate domain

Domain validated and click to add

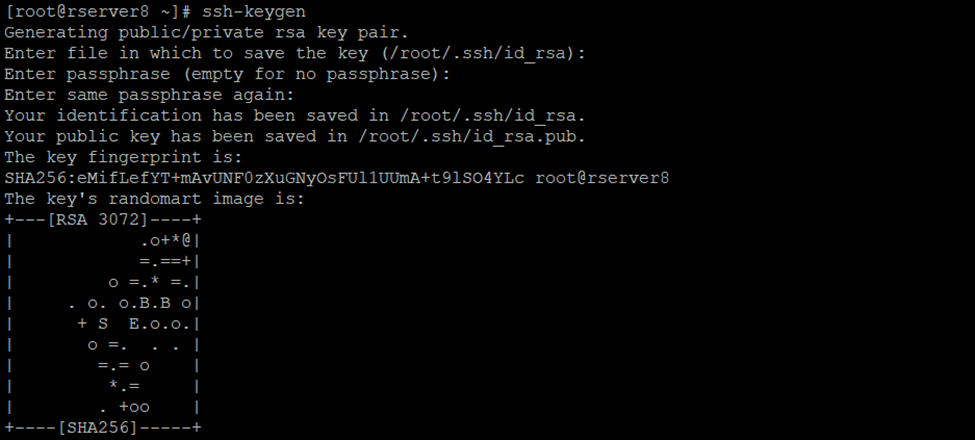
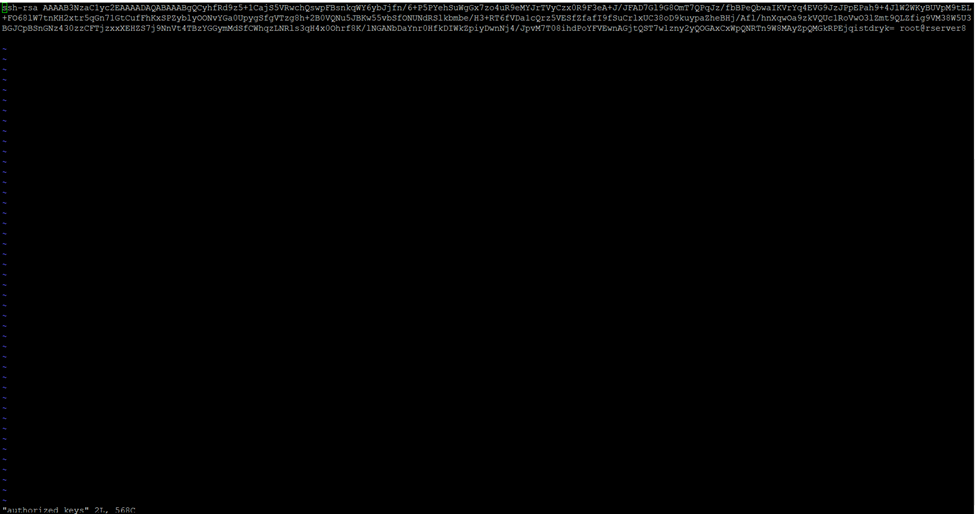
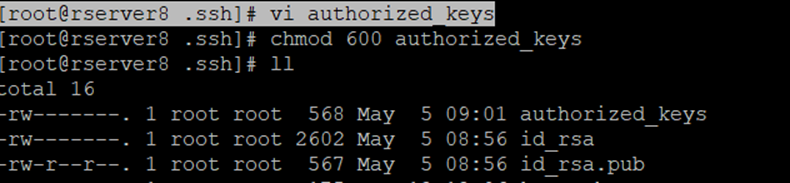
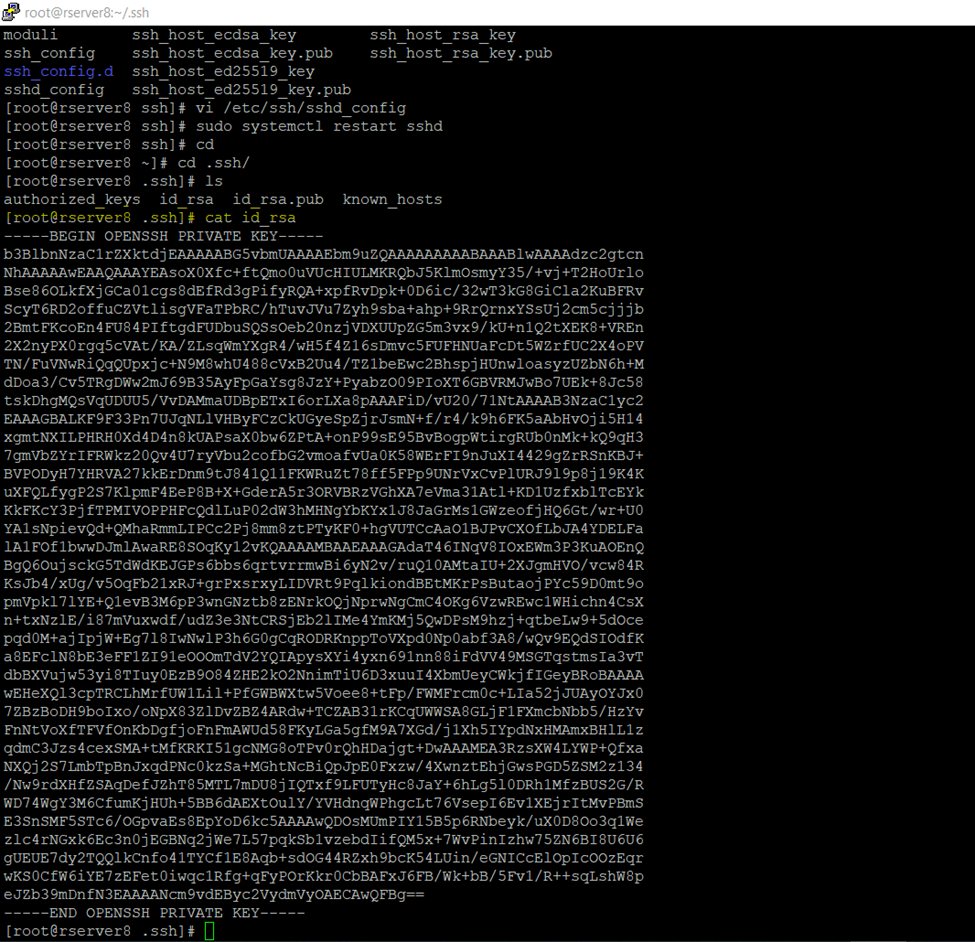
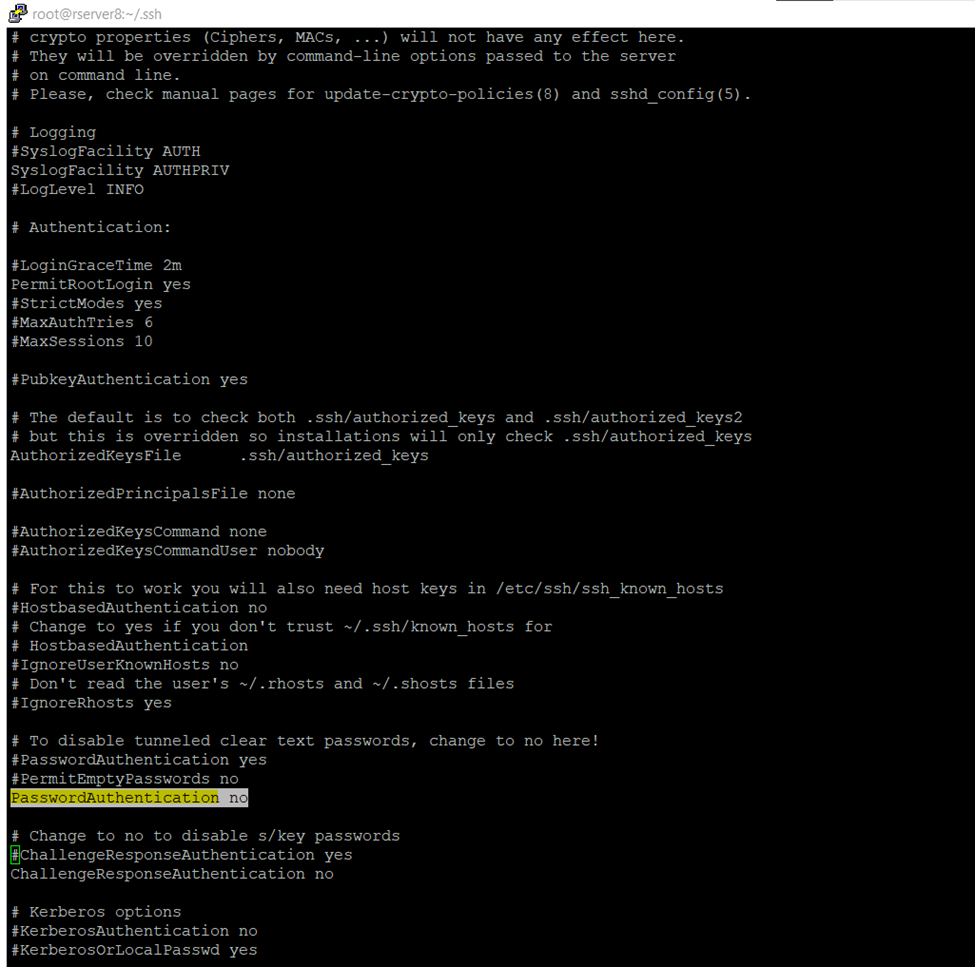
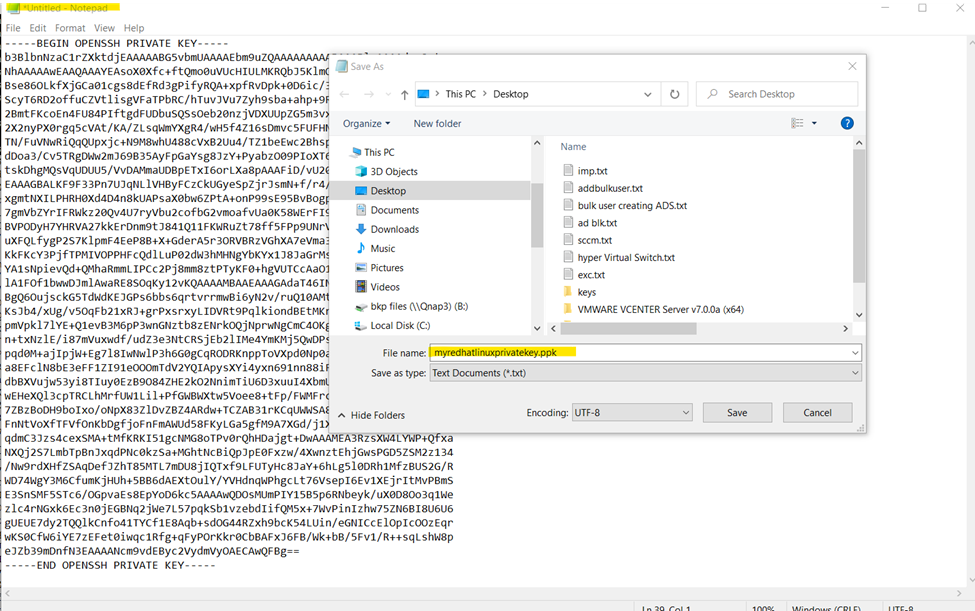
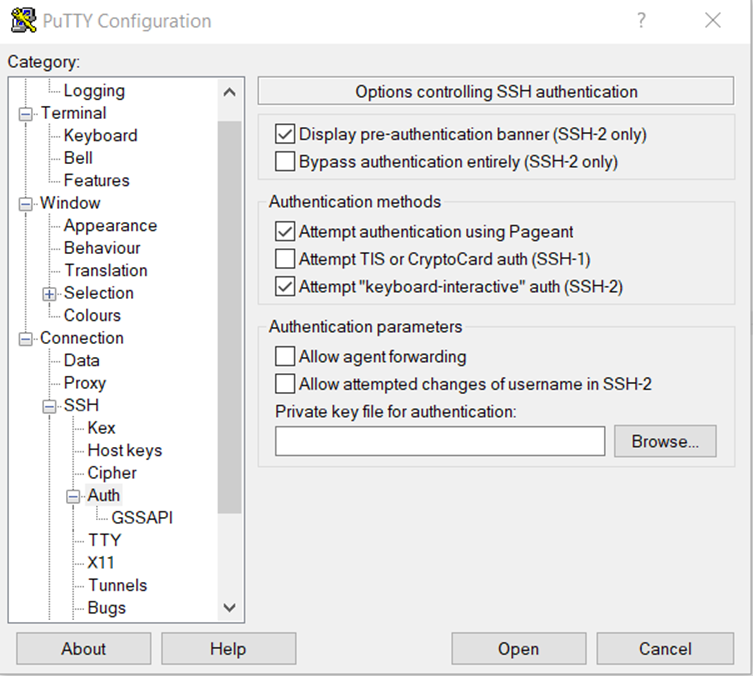
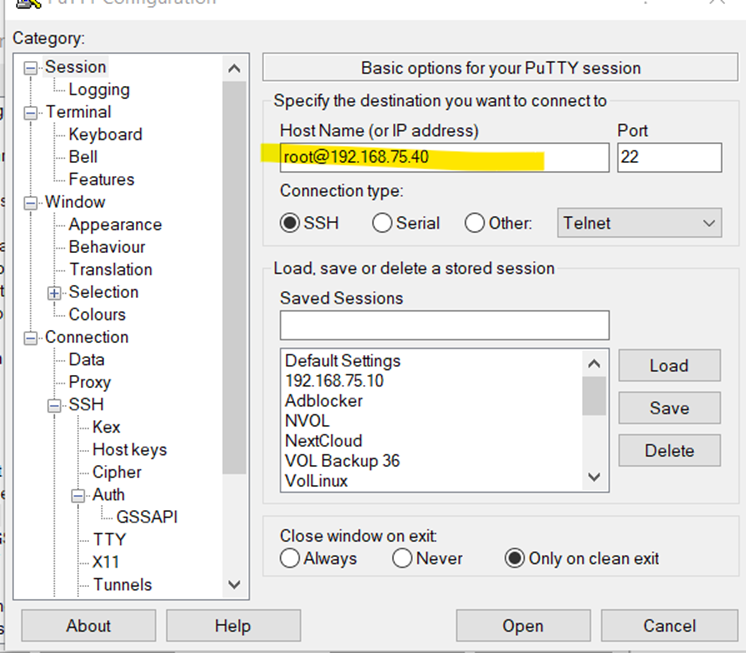
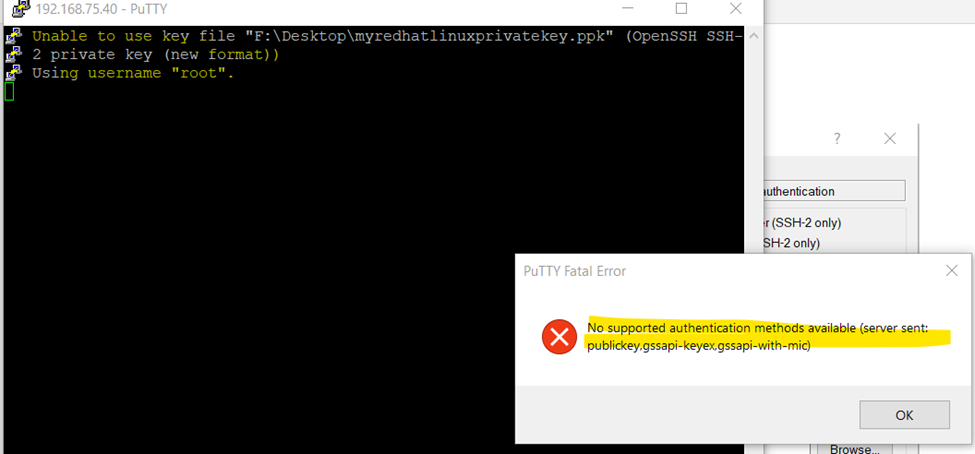
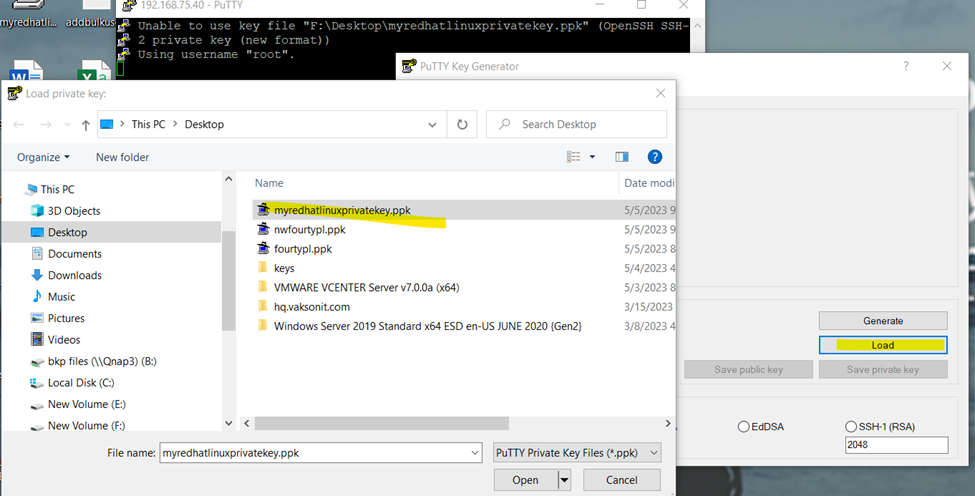
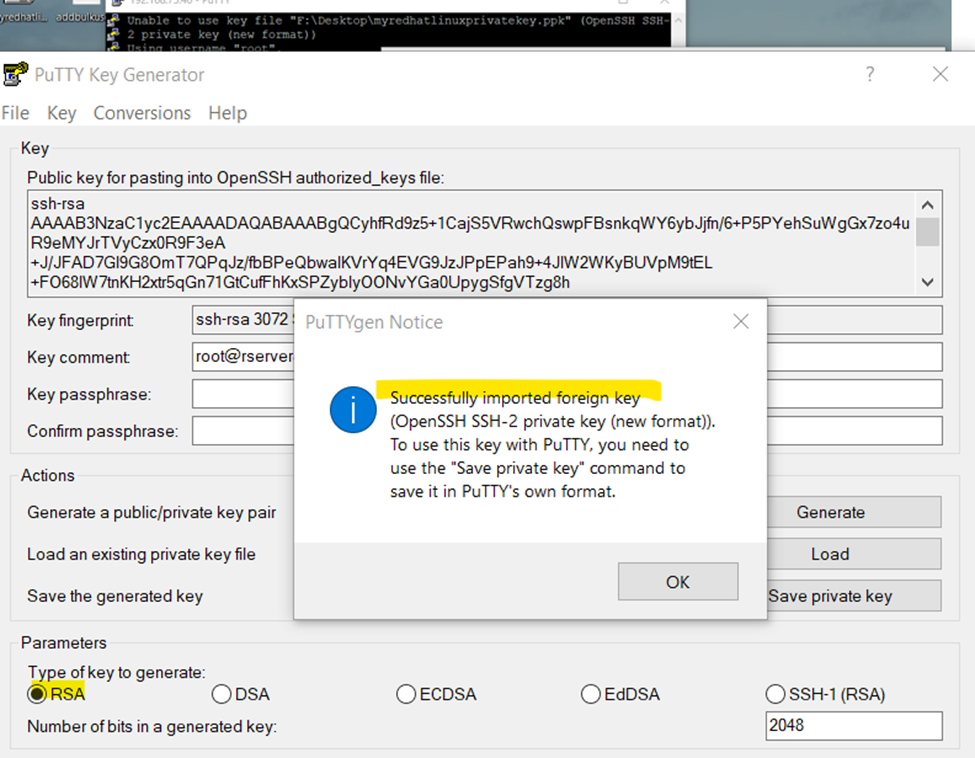
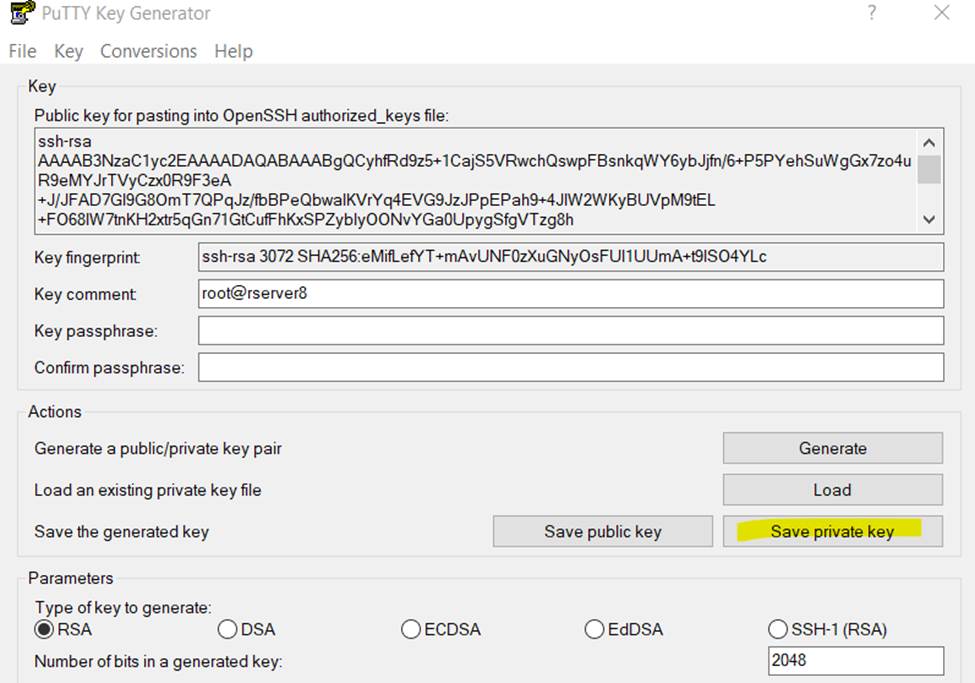
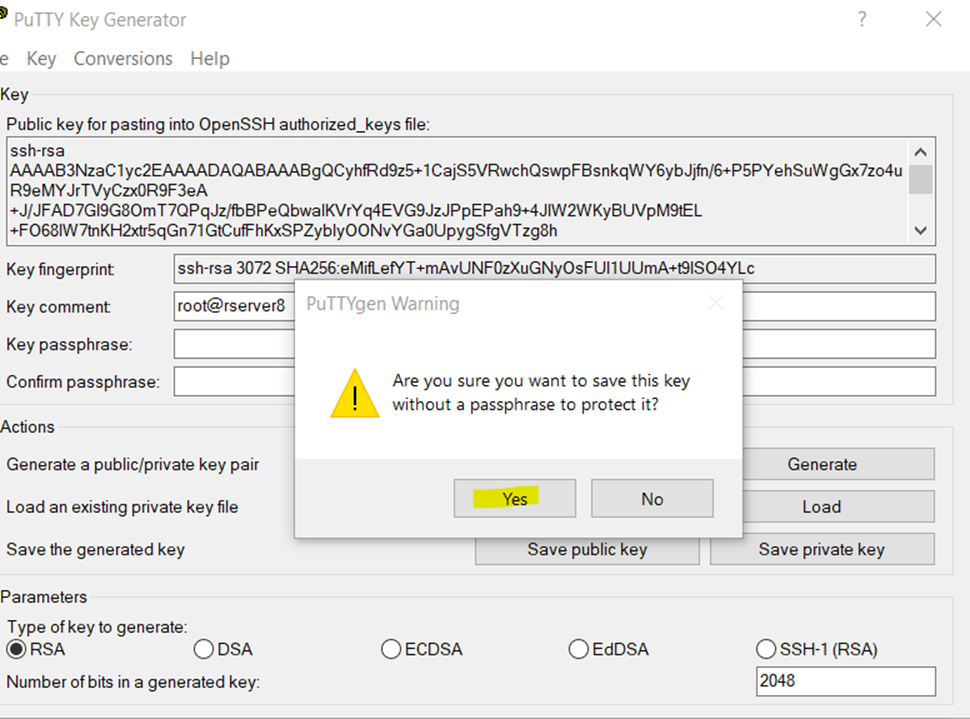
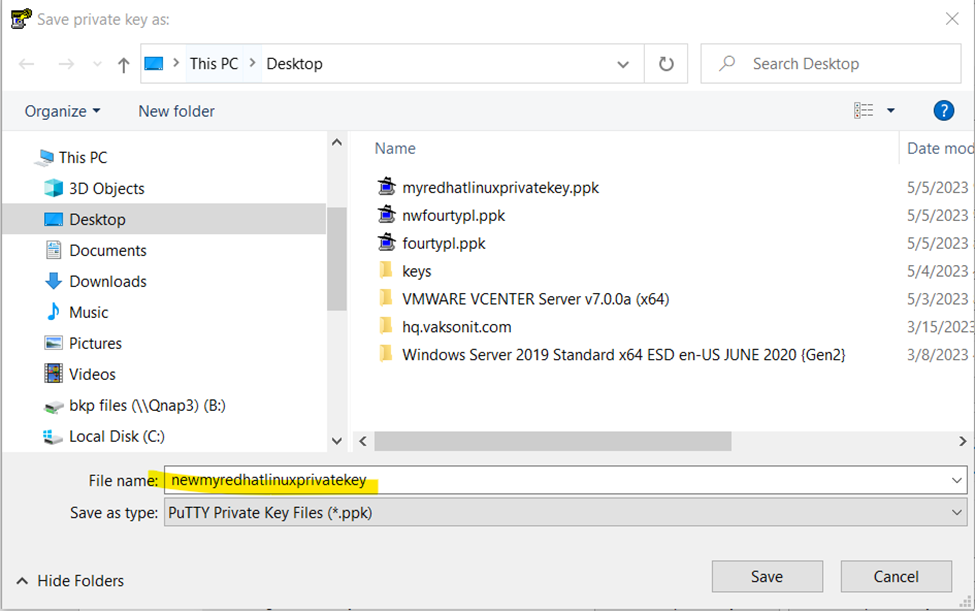
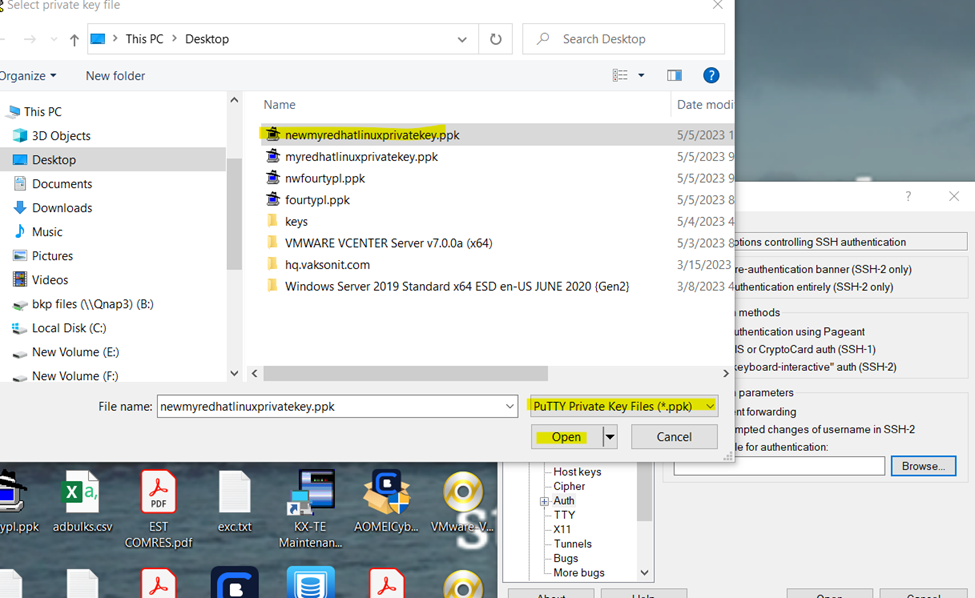
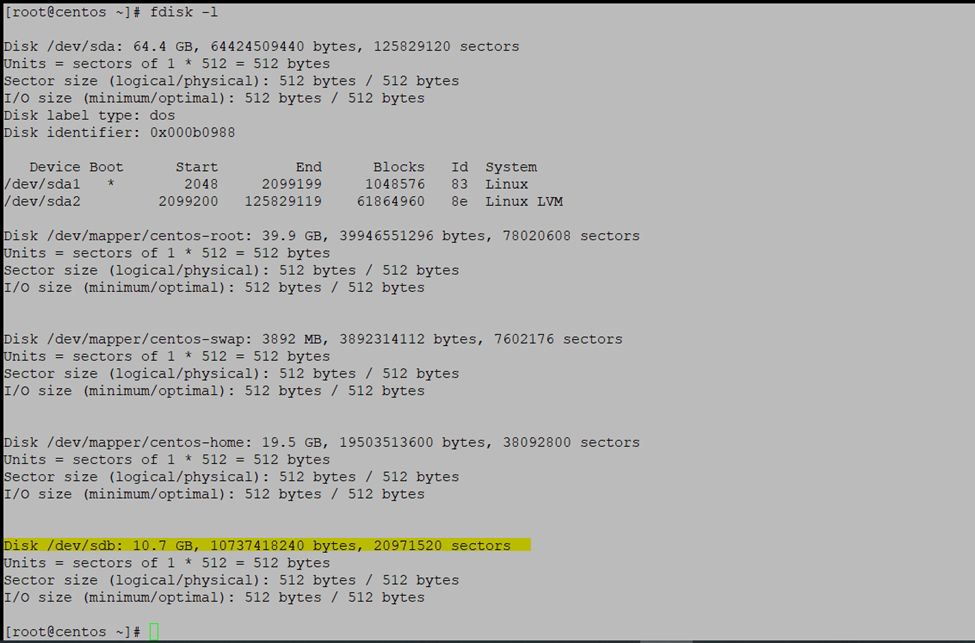
SSH Login