
For installing Oracle 11gR2 Enterprise Edition on Linux 6 (RHEL 6, CentOS 6, OEL 6), first, you have to download the Oracle database software from the Oracle Database Software Downloads. The database software is Operating System (OS) specific and OS architecture (32-bit or 64-bit) specific. In my case I will use a 64-bit Linux Operating System, so I will download the following files: linux.x64_11gR2_database_1of2.zip and linux.x64_11gR2_database_2of2.zip files. Download and unzip them into a stage directory.
In this Steps, you will learn how to install Oracle 11g on your Linux 64-bit PC. This article will guide you through the installation steps especially when you are a fresher.
Step 1:
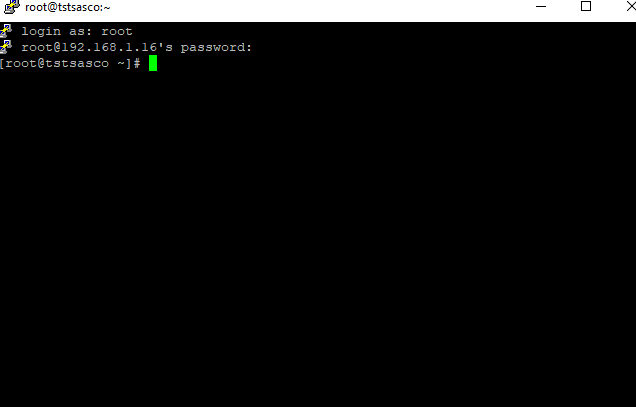
Login to your Root User:

Move to the Directory
change the hosts name before execute any scripts
vi /etc/hosts
[root@oracle]# vi /etc/sysconfig/network
[root@oracle]# vi /etc/hosts
[root@oracle]# vi /etc/selinux/config
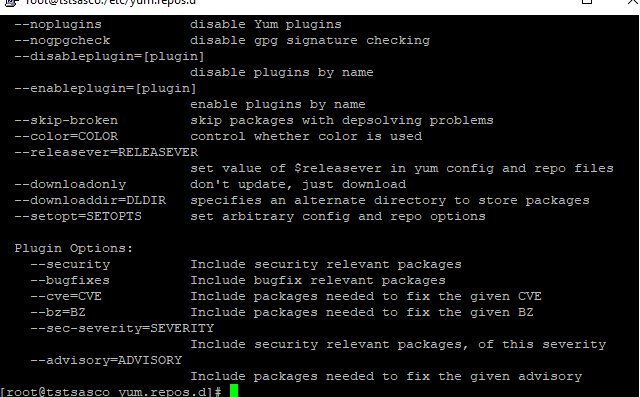
Cmd-> cd /etc/yum.repos.d
After the command you will locate yum.respos.d directory
Run this source link
Cmd -> wget http://yum.oracle.com/public-yum-ol6.repo
Step 2:
Install Yum preinstall Repository
Cmd -> yum install oracle-rdbms-server-11gR2-preinstall
It will take some times we have to wait until pre-installer completed.
Types y to yes to next step


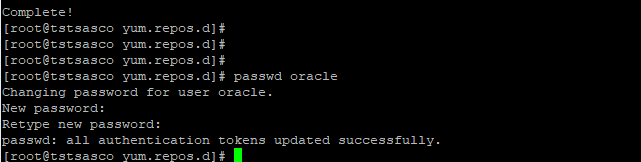
After completed
We will used to create a new password
cmd> passwd oracle
We need to install rpm packages
If you have not used the “oracle-rdbms-server-11gR2-preinstall” package to perform all prerequisites, you will need to manually perform the following setup tasks.
(copy and paste rpm packages)
yum install binutils-2x86_64
yum install glibc-2x86_64 nss-softokn-freebl-3x86_64
yum install glibc-2i686 nss-softokn-freebl-3i686
yum install compat-libstdc++-33x86_64
yum install glibc-common-2x86_64
yum install glibc-devel-2x86_64
yum install glibc-devel-2i686
yum install glibc-headers-2x86_64
yum install elfutils-libelf-0x86_64
yum install elfutils-libelf-devel-0x86_64
yum install gcc-4x86_64
yum install gcc-c++-4x86_64
yum install ksh-x86_64
yum install libaio-0x86_64
yum install libaio-devel-0x86_64
yum install libaio-0i686
yum install libaio-devel-0i686
yum install libgcc-4x86_64
yum install libgcc-4i686
yum install libstdc++-4x86_64
yum install libstdc++-4i686
yum install libstdc++-devel-4x86_64
yum install make-3.81x86_64
yum install numactl-devel-2x86_64
yum install sysstat-9x86_64
yum install compat-libstdc++-33i686
yum install compat-libcap*
(copy and paste rpm packages)
rpm install binutils-2x86_64
rpm install glibc-2x86_64 nss-softokn-freebl-3x86_64
rpm install glibc-2i686 nss-softokn-freebl-3i686
rpm install compat-libstdc++-33x86_64
rpm install glibc-common-2x86_64
rpm install glibc-devel-2x86_64
rpm install glibc-devel-2i686
rpm install glibc-headers-2x86_64
rpm install elfutils-libelf-0x86_64
rpm install elfutils-libelf-devel-0x86_64
rpm install gcc-4x86_64
rpm install gcc-c++-4x86_64
rpm install ksh-x86_64
rpm install libaio-0x86_64
rpm install libaio-devel-0x86_64
rpm install libaio-0i686
rpm install libaio-devel-0i686
rpm install libgcc-4x86_64
rpm install libgcc-4i686
rpm install libstdc++-4x86_64
rpm install libstdc++-4i686
rpm install libstdc++-devel-4x86_64
rpm install make-3.81x86_64
rpm install numactl-devel-2x86_64
rpm install sysstat-9x86_64
rpm install compat-libstdc++-33i686
rpm install compat-libcap*
(copy and paste rpm packages)
yum install binutils-2x86_64 -y
yum install glibc-2x86_64 nss-softokn-freebl-3x86_64 -y
yum install glibc-2i686 nss-softokn-freebl-3i686 -y
yum install compat-libstdc++-33x86_64 -y
yum install glibc-common-2x86_64 -y
yum install glibc-devel-2x86_64 -y
yum install glibc-devel-2i686 -y
yum install glibc-headers-2x86_64 -y
yum install elfutils-libelf-0x86_64 -y
yum install elfutils-libelf-devel-0x86_64 -y
yum install gcc-4x86_64 -y
yum install gcc-c++-4x86_64 -y
yum install ksh-x86_64 -y
yum install libaio-0x86_64 -y
yum install libaio-devel-0x86_64 -y
yum install libaio-0i686 -y
yum install libaio-devel-0i686 -y
yum install libgcc-4x86_64 -y
yum install libgcc-4i686 -y
yum install libstdc++-4x86_64 -y
yum install libstdc++-4i686 -y
yum install libstdc++-devel-4x86_64 -y
yum install make-3.81x86_64 -y
yum install numactl-devel-2x86_64 -y
yum install sysstat-9x86_64 -y
yum install compat-libstdc++-33i686 -y
yum install compat-libcap* -y
Step 3:
Cmd > yum update

Cmd > yum install
Step 4: we need to create a directory and need to move the root folder
Just type cmd cd you will on root folder

mkdir used for create directory
chown used for acess permission
Commands – mkdir -p /u01/app/oracle/product/11.2.0/db_1
Commands– chown -R oracle:oinstall /u01
Commands – chmod -R 775 /u01

Step 4: change the directory
su oracle

Step 5:
Now we also need to download Oracle 11g r2 from https://www.oracle.com/database/technologies/112010-linx8664soft.html

download WinSCP
Winscp used for tranfer windows os files in linux os
we can make the connection via IP Address example blew

We are using winScp for file Transfer window to Linux login via IP

After uploading we will get the both file in oracle directory
Just type over there
ls

Set access file permission
Chmod 775 linux.x64_11gR2_database_1of2.zip
(We need to give the access to both zip file)
Chmod 775 linux.x64_11gR2_database_1of2.zip

After permission zip file color will change

Step 6:
Now we need to unzip both file

Unzip and filename1
Unzip and filename2

After unzipped we will get database directory
Now we are connected to mobaXtrem
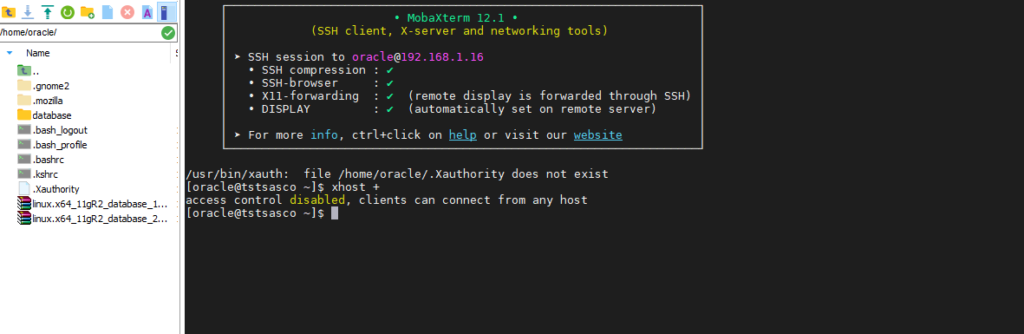
We can check the connection via
cmd > xhost +
Cmd if client can be connect to any host
Step 7: move to database directory
cd database

Step 8: ./runInstaller

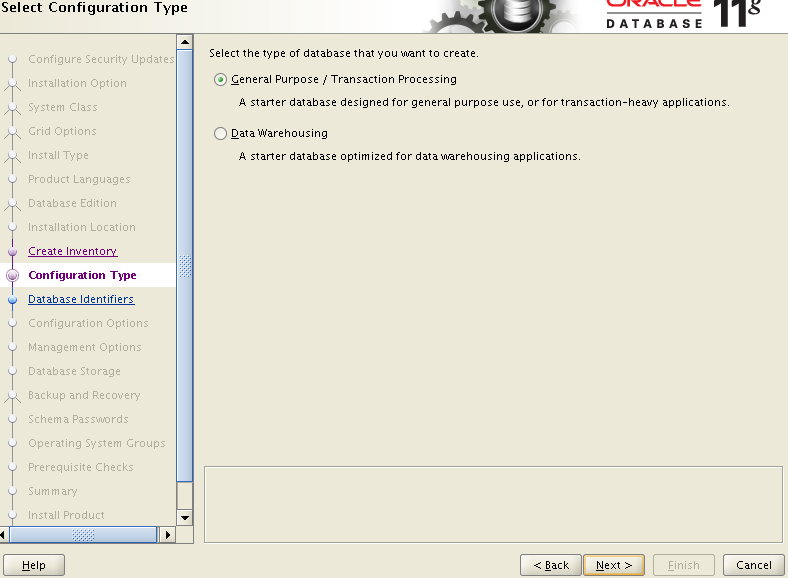
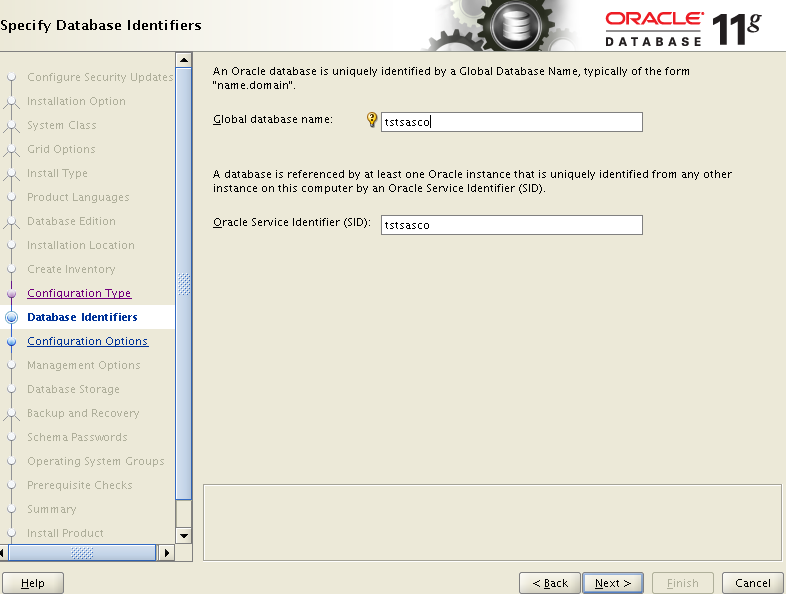
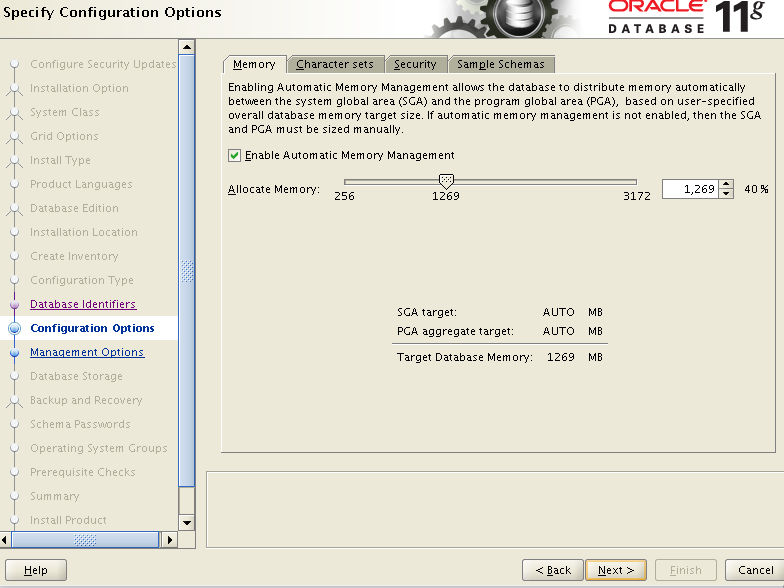
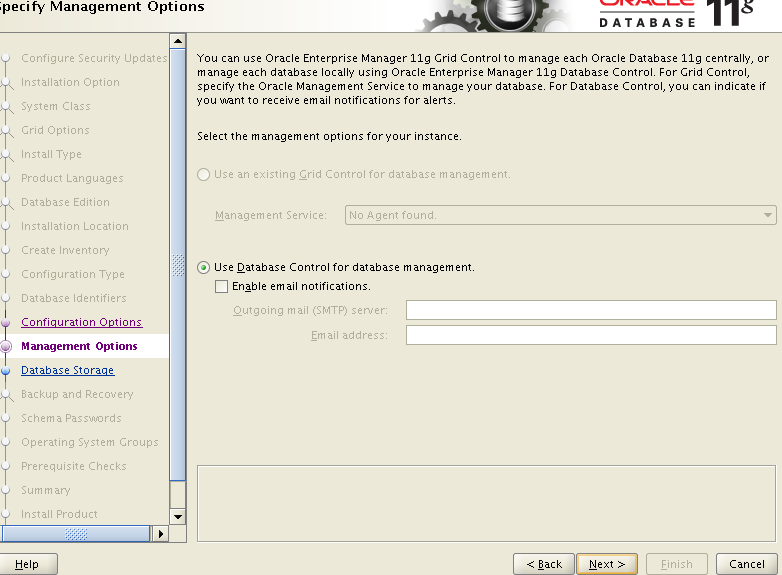
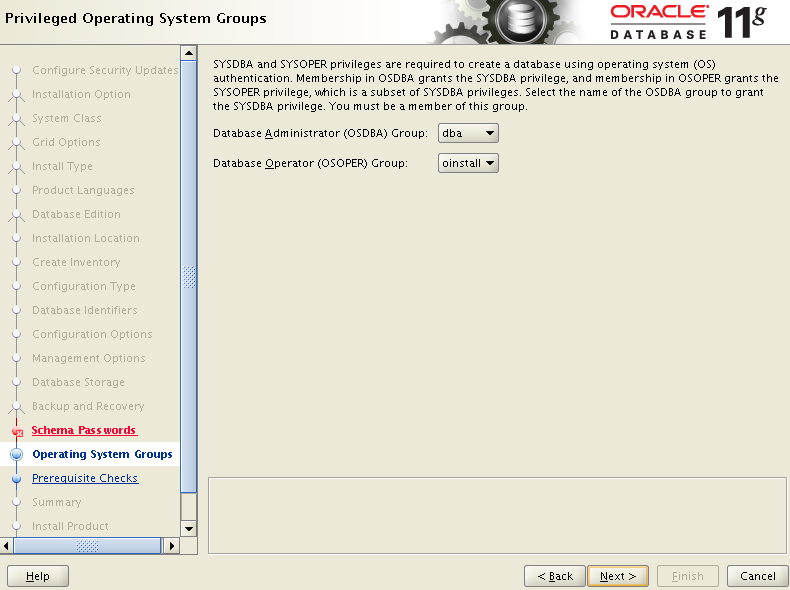
After ./runInstaller oracle 11g r2 datanase installer popup open
After that just follow the screenshot


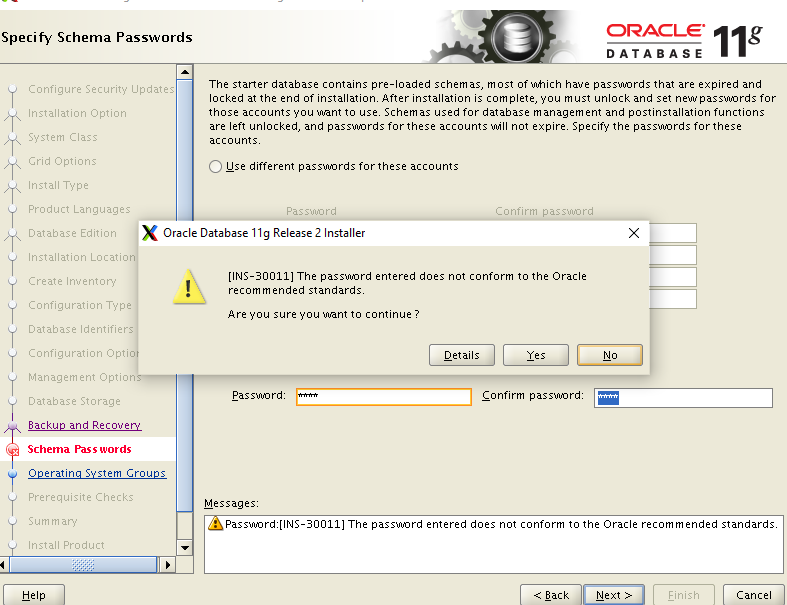
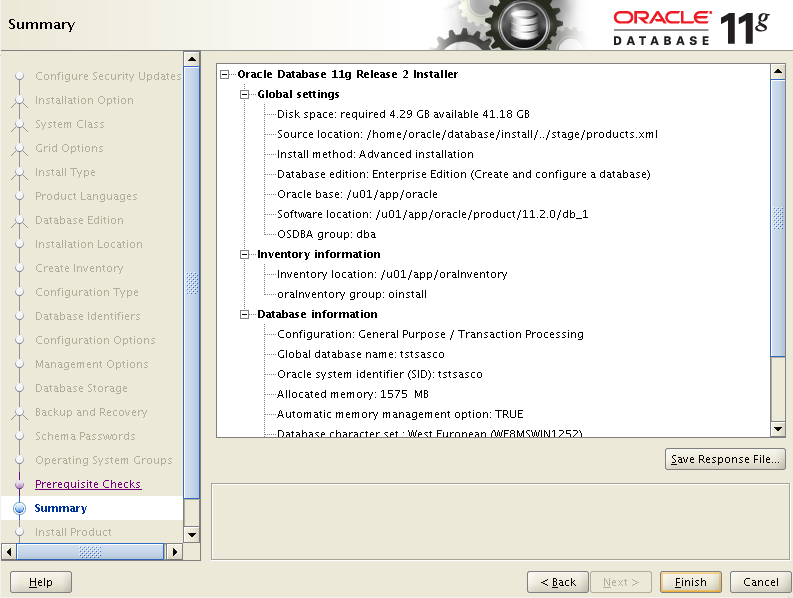

After complete installation database popup will open.

Important Notice : after complete installation you need to check the root.sh file .
Steps :
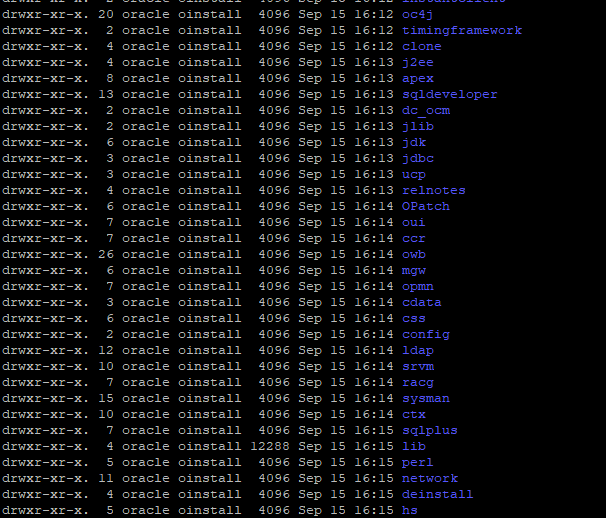
[oracle@querypanel] cd /u01/app/oracle/product/11.2.0/db_a

[oracle@querypanel] ls -rtl
need to move this directory and check root.sh is there or not if not you must have to install root.sh file
now we have to move root directory for install root.sh

[root@querypanel~] yum install root.sh


after installation completed
move to via su oracle and password your oracle directory
move to [oracle@querypanel] cd /u01/app/oracle/product/11.2.0/db_1
[oracle@querypanel] ls or ls –rtl you will find the files
