
Azure Virtual Network
Before Creating Virtual Network, we need to aware about these things Resource Group and NAT Gateway and Subnet.
Steps:
Resource groups
How to create Resource groups
Here I am going to create Azure Cloud Resource Group Region.
If you have multiple branches, you can create multiple Resource group as per region.
I have assigned the Australia_group_dubai.
(You need to select according to the requirement).
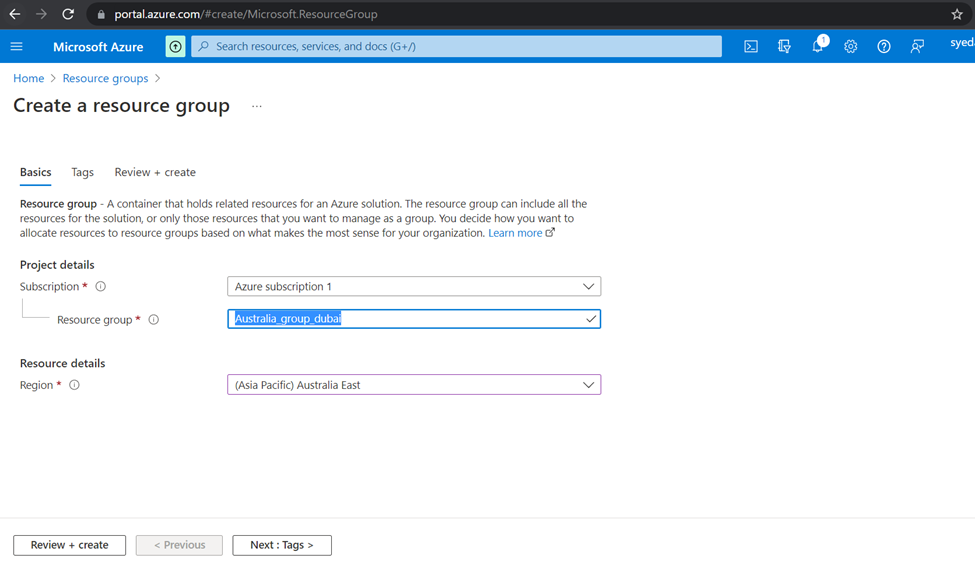
Click to create the Resource Group.
In Every Virtual Network have to assign the R Group.

Create network address translation (NAT) gateway.
Gateway is a kind of networking device that interconnects two devices in different networks so that they can communicate with each other. In other words, it acts as a gate for another network.
It contains both hardware and software components. The main purpose of gateway is to control routing of different networks. Routing control in essence means that all the traffic that flows through the transmission can be controlled accordingly.
Advantages
Connectivity: Gateway provides the better connectivity with other different networks
Better Flexibility: The gateway is getting more flexibility for your network because it is capable to translate all information from computers along with different kinds of systems.
Protection from Unwanted Users: Gateway allows user authentication for getting to improve the security.
Features and Characteristics of Gateway in Networking
- Gateway uses the full-duplex mode of communication.
- It has ultra data transmission speed amongst all network linking devices.
- It is capable to encapsulate and de-capsulate the data packets.
- It can control the all traffic issues with effectively.
- Gateway can operates up to layer 5 of the OSI Model.
So, now going to create Virtual Network Gateway.
Click to create.

Click to next for subnetting


Created the NAT Gateway

Create virtual network
Network virtualization creates virtual networks, and it also maintains a provision of virtual networks.
Through network virtualization, logical switches, firewalls, routers, load balancers, and workload security management systems can be created.
Select the Resource which I have created and assign the name.
Once selected Resource group Resign will be Selected as per Resource Group.

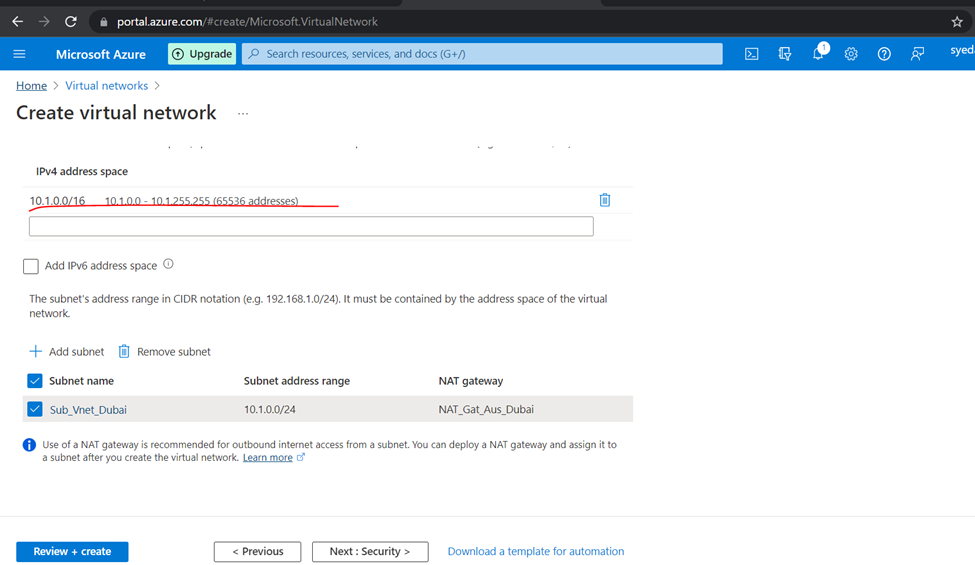
Here I have created the Subnet for VNet.
- Subnetting divides broadcast domains, meaning that traffic is routed efficiently, improving speed and network performance.
- A subnet mask ensures that traffic remains within its designated subnet. This reduces major congestion and reduces the load imparted on the network. With sub-networks, less distance needs to be traveled by data packets, enhancing network performance.

Customize static ip as per you or leave as default.
For security I did not create any firewall.

After the Validation passed press click to create Network.
So, these are the method to create Virtual Network/Network Gateway/Resource Group and Subnet.
AZURE Cloud Virtual Machine
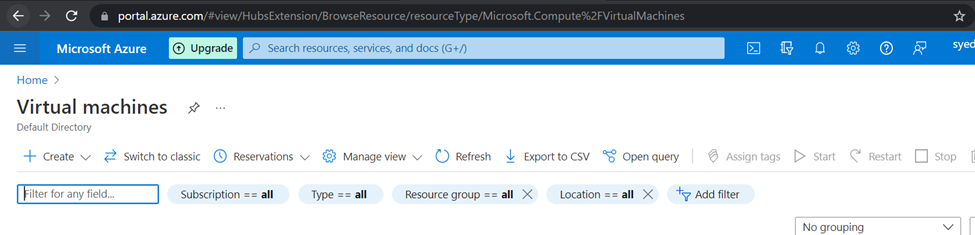
Click to Create
So, here I m selection Virtual machine hosted by AZURE.

select the resource Group
Subscription just default selection

So, write the Instance details like Virtual machine name and etc…

Create the username

Select the Disks according to the need.

Networking
Select the Networking according to the resign
So here I am selection default subnet and you can also select the customize one subnet but subnetting sequence have to same as per resource Group & region.

Management


Once Validation passed click to create machine


So, if you can check after few seconds vm will deploy

Machine running status
Here is the difference between Cloud and on Premises virtual machine IP Protocol.
In every cloud Every virtual machine have unique public IP Address and with static IP Address but in on premises Virtual machine have only one static IP and common Public IP for the network.

In the networking module you will get 2 IP, Public and Private

These are the method to create a Virtual Machine in Azure cloud Server.
How to Connect Azure Cloud Virtual Machine Via Public IP
(if you wanted to connect Virtual Machine on Private you need to install VPN Server for that)
So, I have NIC Public IP : 50.12.201.5
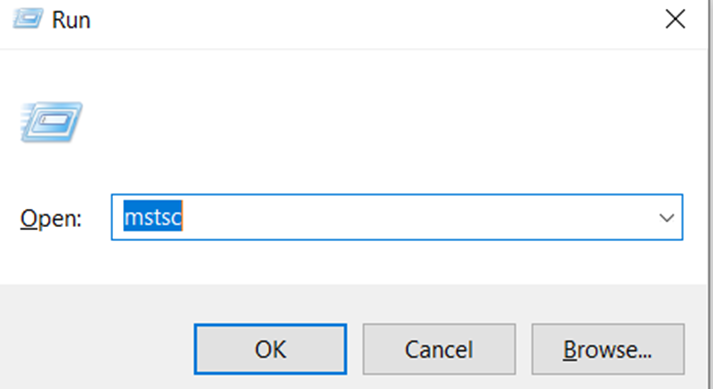
Run the CMD
Type mstsc
Once the popup will come type the IP Address
Enter the Username and Password

Once successfully connected

So now connected,

AZURE Connect with RDP
In Virtual Machine go to connection side menu

Click to Download RDP File
Once RDP file downloaded, please click to open

Click to press connect

Type the credentials username and password

So now connected successfully
RDP make the connection with the help of Port
These are the method to connect via RDP.

AZURE VPN
SO, here I am Creating VPN Server (Wireguard/OpenVPN) in UBUNTU Linux Server.
Steps.
First Need to Create Virtual Machine in Azure (Installation Ubuntu Server).
Create a virtual machine
I am here selecting Resource Group and Region according to the Azure Services.
And I have selected Operation UBUNTU 20.04.
You can select the size according to the requirments.

Create the Administrator account and password
And allowed the SSH port

Disks Selection

Networking MENU please check the Subnet.

Validation done create the VM

Once machine created you will get the machine details and Public and Private IP.

Connect from SSH or Putty according to your choice.
So need to update and upgrade the server.
shariq@piexcess:~$ sudo apt update -y

shariq@piexcess:~$ sudo apt upgrade -y

So now starting to install Wireguard/opnVPN Server.
shariq@piexcess:~$ curl -L https://install.pivpn.io | bash
Once curl commands run successfully


Here I have selected Wireguard VPN Server

Need to allow the mention port in vm network

Allow the 51820 port to inbound rules

Outbound rules

You can use your own DNS but here I m using google DNS

ENTER the Public IP or Public Domain which is associated with your cloud network

The Server Keys will now be generated.

Yes to upgrades of security patches

So security patches will be update

So just Restart the Server

Restarting server

Now create the VPN User
shariq@piexcess:~$ pivpn add
or
(wg – wigreguard)
shariq@piexcess:~$ pivpn wg add

Once create the user
Connect from wireguard client

Download the user and try to connect with wireguard vpn server.
So here connection successfully done

OpenVPN in Ubuntu 18.04.
Create the Virtual Machine and connect to any SSH
So here I am going to install
Steps. Need to update Ubuntu Server and Upgrade Server.
shariq@vdubai:~$ sudo apt update -y
shariq@vdubai:~$ sudo apt upgrade -y
Downloading OpenVPN
shariq@vdubai:~$ wget https://git.io/vpn -O openvpn-install.sh
assign the Setup permissions using the chmod command
shariq@vdubai:~$ chmod +x openvpn-install.sh
after the permission need to install the OpenVPN
so here need to allow the 1194 port
Inbound port rules
and
Outbound port rules

shariq@vdubai:~$ sudo ./openvpn-install.sh

If we need to add the clients
Run the this commands
shariq@vdubai:~$ sudo ./openvpn-install.sh
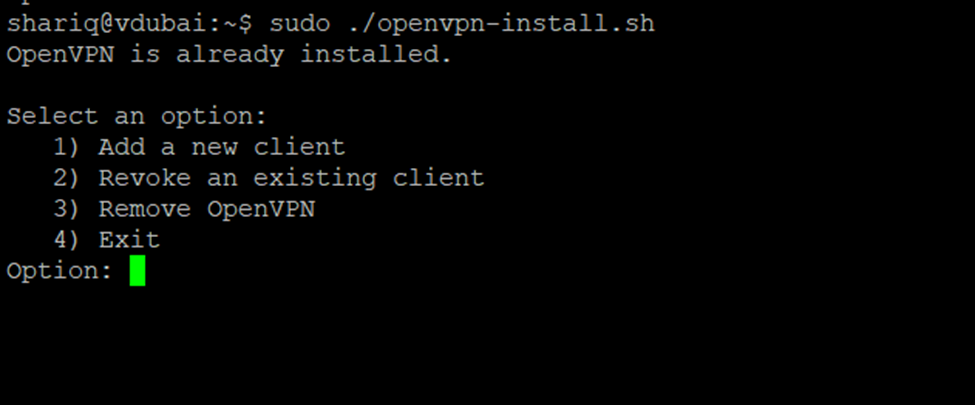
So, press 1 to add client or it’s up to you there is option according.
Here adding client.

So, these are the methods to create OpenVPN in Azure Cloud
Testing the created Client

Import the client to openvpn application

Now here I am connected to the OpenVPN Server

Here connection tested

Local Area Connection


Deleting Existing Client
shariq@vdubai:~$ sudo ./openvpn-install.sh
press 2 Revoke Existing Client

Excellent read, I just passed this onto a friend who was doing a little research on that. And he actually bought me lunch since I found it for him smile Therefore let me rephrase that: Thank you for lunch!